What You Need:
- 1 Box of Chocolate Cake Mix ( Eggs, Oil, Butter )
- 1 Package of Oreo Cookies
- 1 8 oz Block of Cream Cheese
- 1 Container of Vanilla Frosting
- White Chocolate Baking Squares
- Cake Pop Sticks
- ……..Patience!
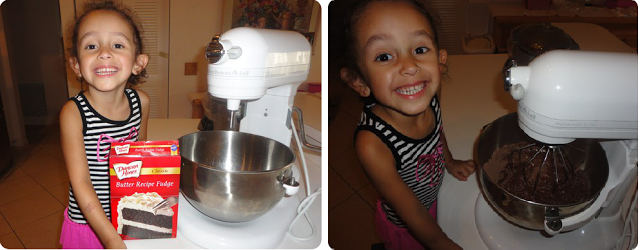
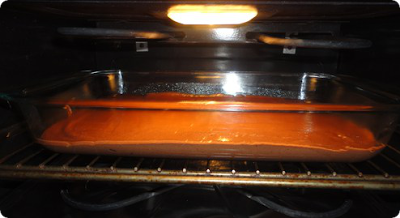
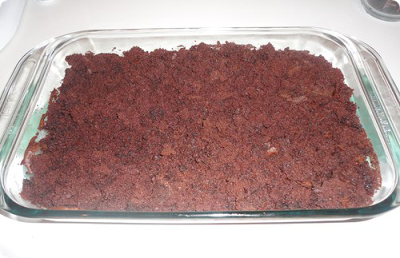
To start off all you need is your typical box of Chocolate cake mix. Make your cake, bake it, and prepare your ingredients. This is the most simple step of the process!
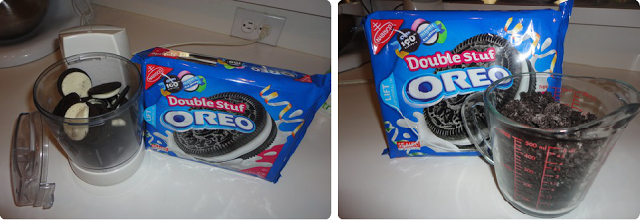
While your chocolate cake is baking you can go ahead and prepare the crushed Oreo cookies. I used Double Stuff for the extra cream in the middle, but regular Oreo cookies will work just as well. I used a mini food processor to crush the cookies and stopped when I got about two cups full.
In your mixer add 8 oz. of room temperature cream cheese and 1/2 cup of Vanilla frosting. Mix these together until you get a creamy texture. These two ingredients are going to make your cake pop filling extra moist. Next, add your 2 cups of crushed Oreo cookies and combine all ingredients with a spoon. Do not use the mixer for this step until you want your cookie crumbs to turn into dust!
Once your cake is out of the oven and cooled off you can use a spoon or your hands to crumble it into smaller pieces.
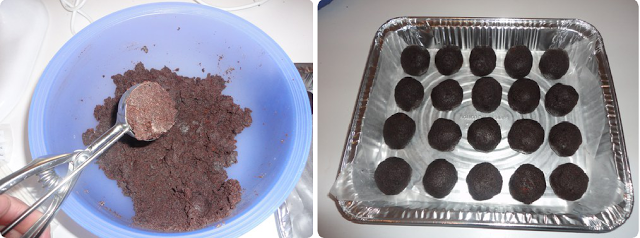
Once your cake is crumbled, add your creamy Oreo filling and mix everything together gently with clean hands. When your cake pop batter is moist you can start rolling it into balls. I used a small ice cream scooper because it distributed the perfect amount. Then I rolled it in the palm of my hand to make the shape more round. On a cookie sheet or inside a cake pan, line the bottom with wax paper and line up your cake balls.
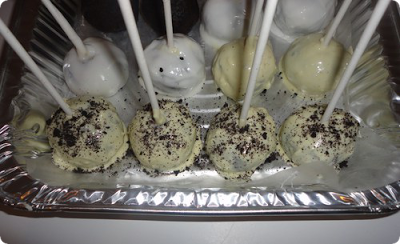
After your balls are rolled up, stick them in the fridge for 5-10 minutes so they firm up. You don’t wait them to be too soft or mushy when you put the stick inside. While mine were chilling, I melted my white chocolate for two minutes in the microwave. The thinner the chocolate the better because it will coat the cake more evenly. This particular brand was difficult to keep melted. It firmed up very quickly and it was hard to keep the creamy consistency without burning it while re-heating in the microwave. Working with what I had, I dipped the tip of the stick into the chocolate and then inserted it half way into the cake ball. Don’t worry if they are not perfect or you drip everywhere- they’re going to be covered anyways! This step is only to secure the stick inside the cake.
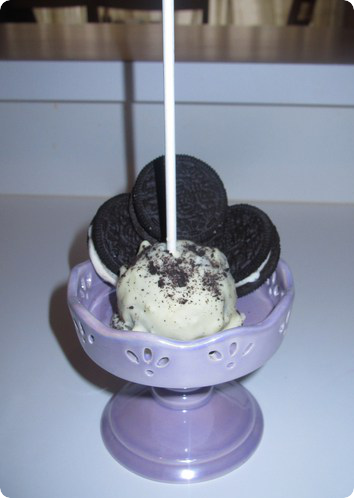
Stick your cake pops back in the fridge for 10-15 minutes before completely coating them. I learned from experience that if they are not hard enough, the stick will pop out while submerging them in chocolate. You will then be bobbing for cake pop balls! I ran out of the while chocolate half way through and decided to try melting regular vanilla icing. It worked much better than my original plan. We topped of the cake pops with crushed Oreo cookie.
So there they are- our Creamy Chocolate Oreo Cake Pops!
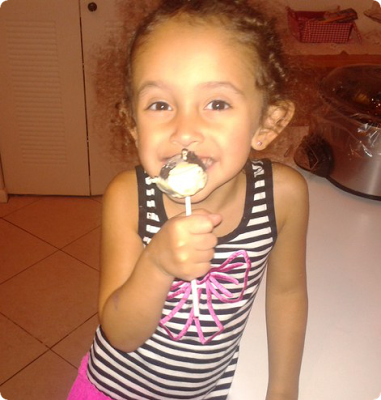
Cake Pops are not the easiest sweet treat to make but they sure are fun. Even though we had a chocolate coating road block, these cake pops turned out delicious. The cream cheese made a huge difference in the texture and added an extra hint of sweetness. At the end of the day, perfect Cake Pops or not .. Toodie enjoyed them! In my book, that’s all that matters.




these look so delicious! Toodie is so cute =)
Oh My those look great! But my thighs are crying over here! LOL
Looks delicious!
Those look so tasty. I have been meaning to take a stab at some cake balls and haven't yet, might have to do that soon!
They look delish! I am going to have to do this with my kiddos!
I really need to have some of those.. they look sooo good. I think my kids would love to help, too! Thanks for sharing
Those look so delicious! Thanks for sharing!
Those look great! I will have to try making these!
Yummy,the only thing I would change when I make it is vanille cake .mix