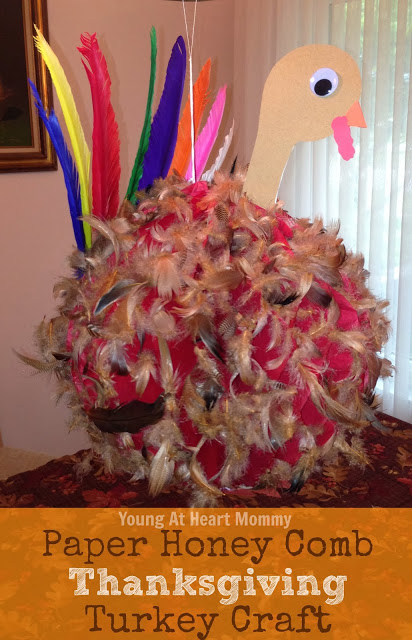
Are you getting ready for Thanksgiving yet? We are! There are only two weeks until the big day and most of us are already thinking about what we will be cooking for our families. In addition to meal prep, what about decorations? I have another adorable turkey craft for all of my creative followers. The Paper Comb Thanksgiving Turkey Craft can be used to decorate your home in preparation for the festive holiday.
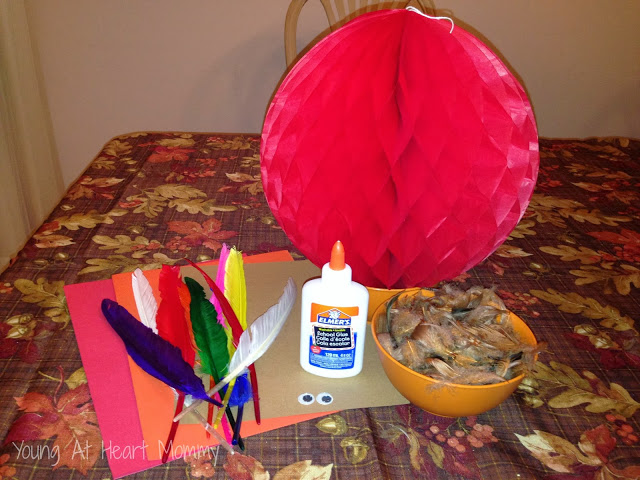
A few of the materials needed for this project are similar to my previous Paper Plate Turkey Craft. You will need to add a few extra supplies to the list and most of them can be found at the craft store. The only thing you may have trouble finding is the tissue paper honeycomb. These can be bought in various colors at Party City or any other party supply store that sells decorations. You will need the following:
- tissue paper honeycomb sphere
- colored construction paper ( red and orange )
- large colored feathers
- 2 bags of medium sized neutral colored feathers
- glue
- googly eyes
- small bowl to keep your sphere in place
- paint brush ( optional but not necessary )
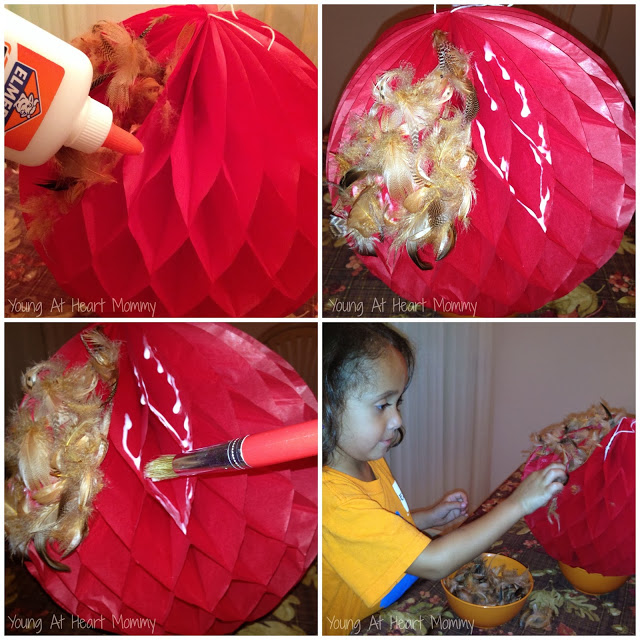
Placing your paper sphere in a small bowl will keep it in place while your child decorates. Otherwise, you will quickly notice that it rolls all around the table which makes it hard to work on. Begin by taking your glue and coating the combs lightly, edges included. You can use the tip of the bottle or a paint brush to do so. To add dimension to our turkey we stuck feathers inside of the openings in addition to lining the outer rims. This part takes the most time but don’t feel like you have to cover every single area of the sphere. It looks more realistic when it’s sparsely covered.
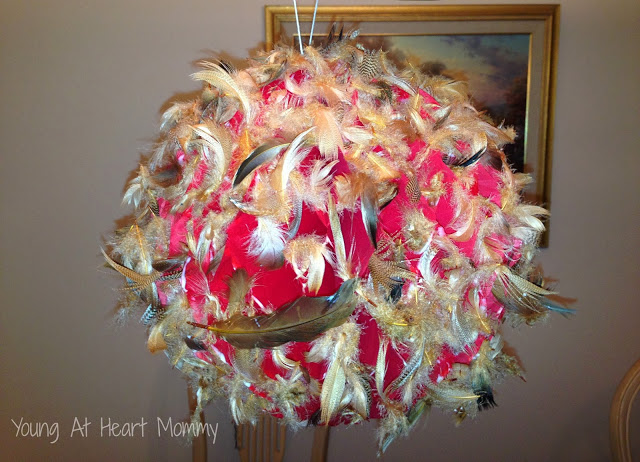
When you are all finished it should look something similar to this. Give it a fair amount of time to dry so none of the feathers fall off. You can also touch up areas you feel need a little extra coverage.
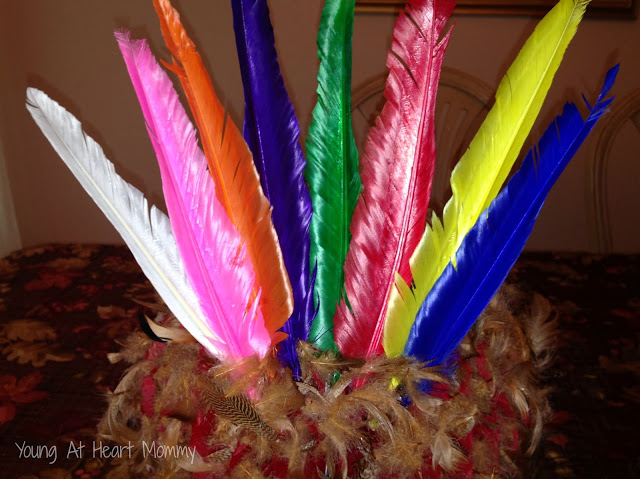
Using a hot glue gun attach the large colorful feathers to the back of the turkey’s body. If you have extra of the neutral smaller feathers you can glue them over this area to cover up the ends. This part can be tricky but as long as you hold the big feathers in place until they dry, they shouldn’t budge.
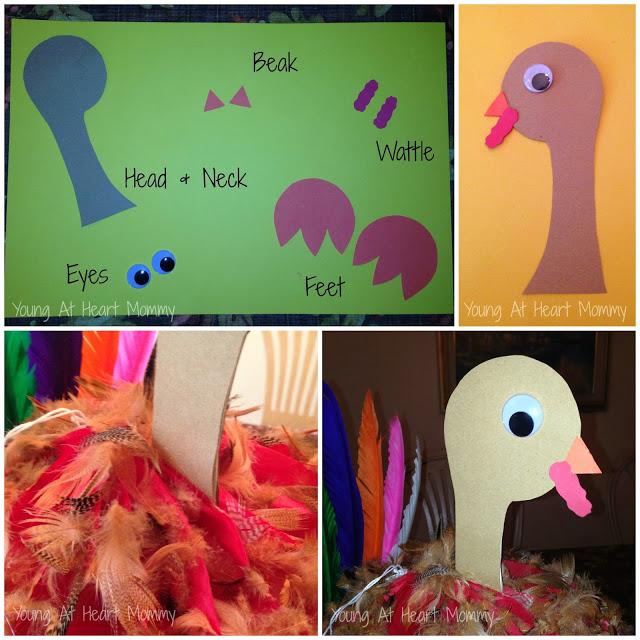
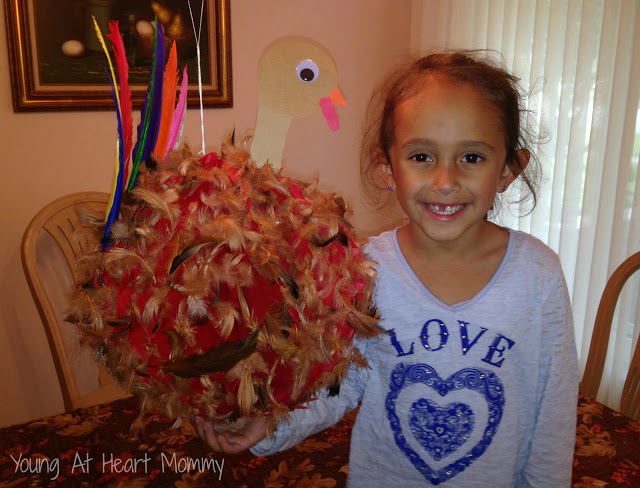
For the turkey’s head/neck, wattle, feet, and beak I just used colored construction paper. Like my free-hand skills? They are getting better with all this holiday crafting! Since your turkey is 3 dimensional you should cut out two of each. That way you can see his cute little face from different angles. All of these extra parts can be attached with your everyday Elmer’s glue. Tuck the turkey neck into a crease on the sphere and glue in place. Voila! Your paper honeycomb turkey is done. Now where should we hang this little guy?
Once you have the concept down pat you can make miniature turkeys out of smaller spheres. These can be used as table decorations for Thanksgiving dinner!
Have any Thanksgiving crafts or recipes that you would like to share? Join Huppie Mama’s Thanksgiving Linky Party and link up what you are working on with your kiddos.



Such a cute idea!!
I love all the feathers, my kids would love to make this, they love crafts. Keeps them busy too.
I'm amazed at how good this came out, when you look at the materials, you would never imagine something so cute could be the end result!!!