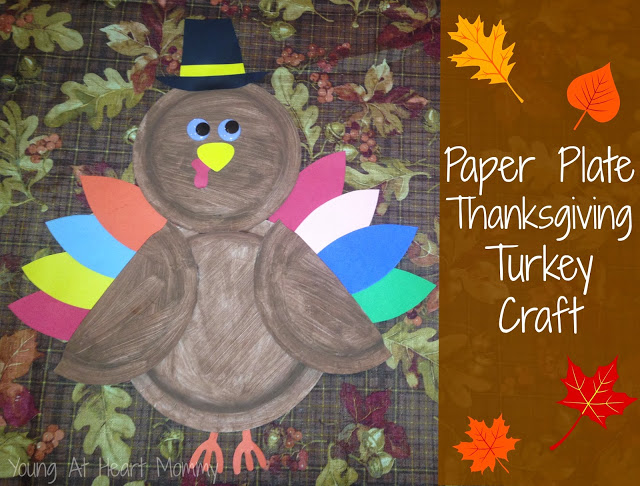
This week Toodie’s teacher sent home an assignment for each child to bring in their very own Thanksgiving turkey. It couldn’t have came at a better time because I have been doing a lot of pinning lately & discovered many holiday related Pint-er-esting finds. You wouldn’t believe how many turkey arts & crafts projects are floating around the internet! Thanksgiving will be here before we know it and I found an adorable paper plate turkey craft that can be used to decorate the home and classroom. It has a few different components to it but overall it is a very easy craft to do with your child. Toodie & I both enjoyed working on this together as a team.
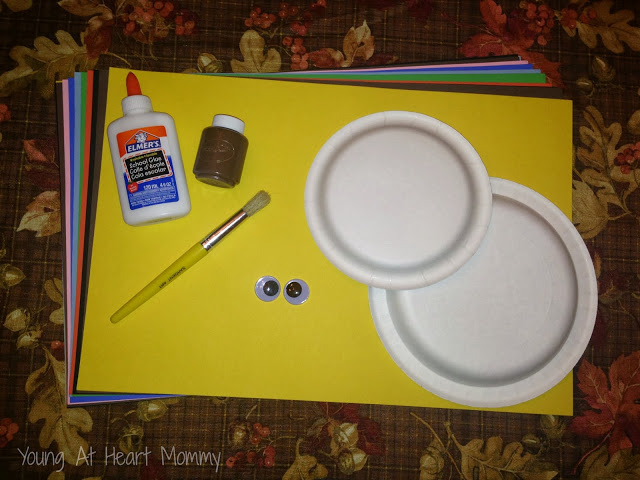
Everything you need for this project can be found around the home or at your local craft store. The supply list is short and simple. You will need the following materials:
- colored construction paper
- brown paint
- paint brush
- set of medium sized googly eyes
- glue
- three small paper plates
- one large paper plate
If you have a hot glue gun it may be best to keep it on stand by. The materials used are on the heavier side and I found that the hot glue gun held everything together much better than regular glue.
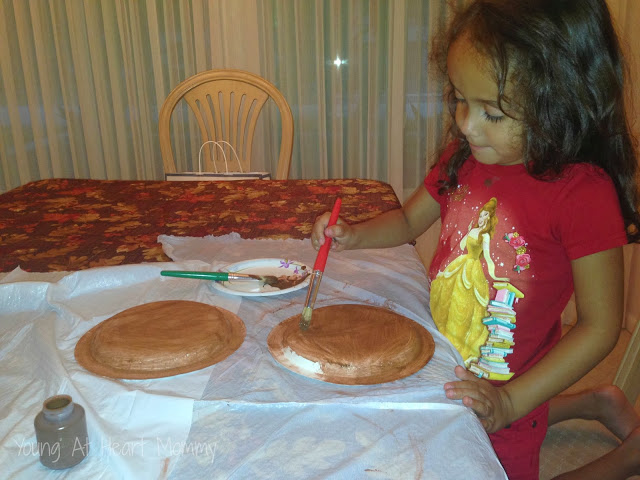
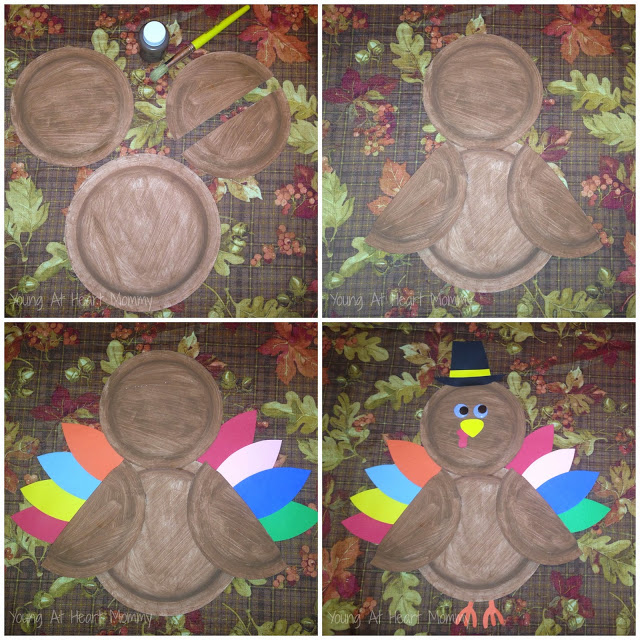
The first step to bringing your turkey to life is painting his body! Paint all three plates brown and allow to dry.
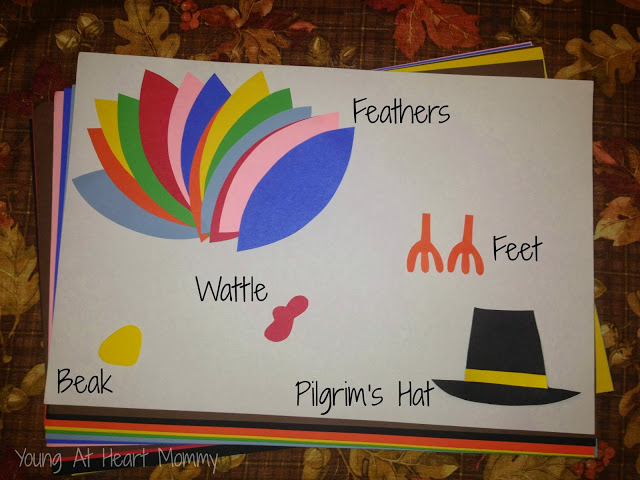
While your turkey’s body is drying, take your colored construction paper and start working on all of the extra parts. I free handed the feathers and traced the shape onto various colored paper. If you have safety scissors you can allow your child to cut the feathers out on their own. I couldn’t find Toodie’s to save my life which is why they look so perfect! In addition to the colorful feathers you will need to make a beak, wattle, set of feet, and Pilgrim’s Hat. All of which can be cut right out of your construction paper.
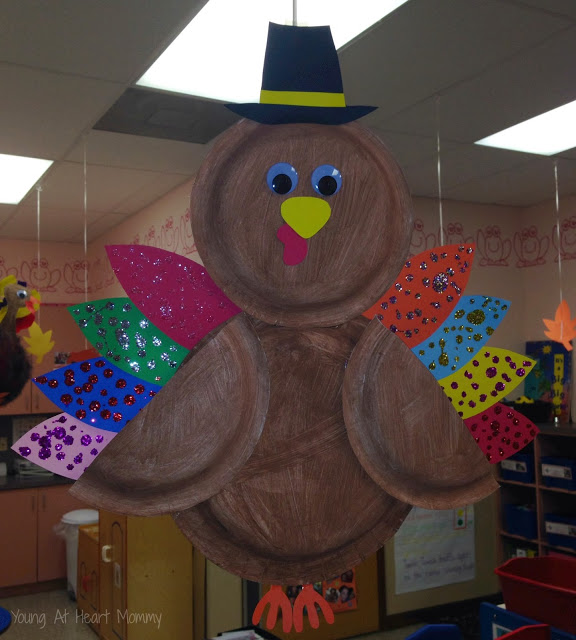
Once you have all of your turkey parts made you can begin assembling. Cut one of your small plates in half to form the wings. Use your hot glue gun to attach the head and wings on each side of the turkey’s body. Flip over and glue feathers to the back of the largest plate. Lastly, add on all of your smaller pieces. Don’t forget your turkey legs!
To add a little pizz-az to the turkey you can also have your child decorate the wings with glitter, sequins, or gems.
Do you have any Thanksgiving crafts or recipes to share? Please leave a comment below and let me know what you are working on with your kiddos this time of year. Also, stop by Huppie Mama and join the Thanksgiving Linky Party!



Awee what a great, simple and fun Thanksgiving craft! What a wonderful job 🙂
how adorable is that! 😀
fun idea! when my daughter gets older i love to make this with her!
-stephanie j
This is such a cuter Thansgiving craft idea. My neice and I would like to make this for the Holiday this year. It looks festive and easy to make.
Thanks so much for sharing your craft on Huppie Mama!
Girl, where's my printable for that turkey project lol 😉 Thanks for sharing that super-fun-looking turkey idea! I'm definitely making some turkeys with my cool dude this week. I want to do the hand-tracing one, for sure. That one will be a sentimental one for the baby book 🙂