This #SendSmiles shop has been compensated by Collective Bias, Inc. and its advertiser. All opinions are mine alone. #CollectiveBias
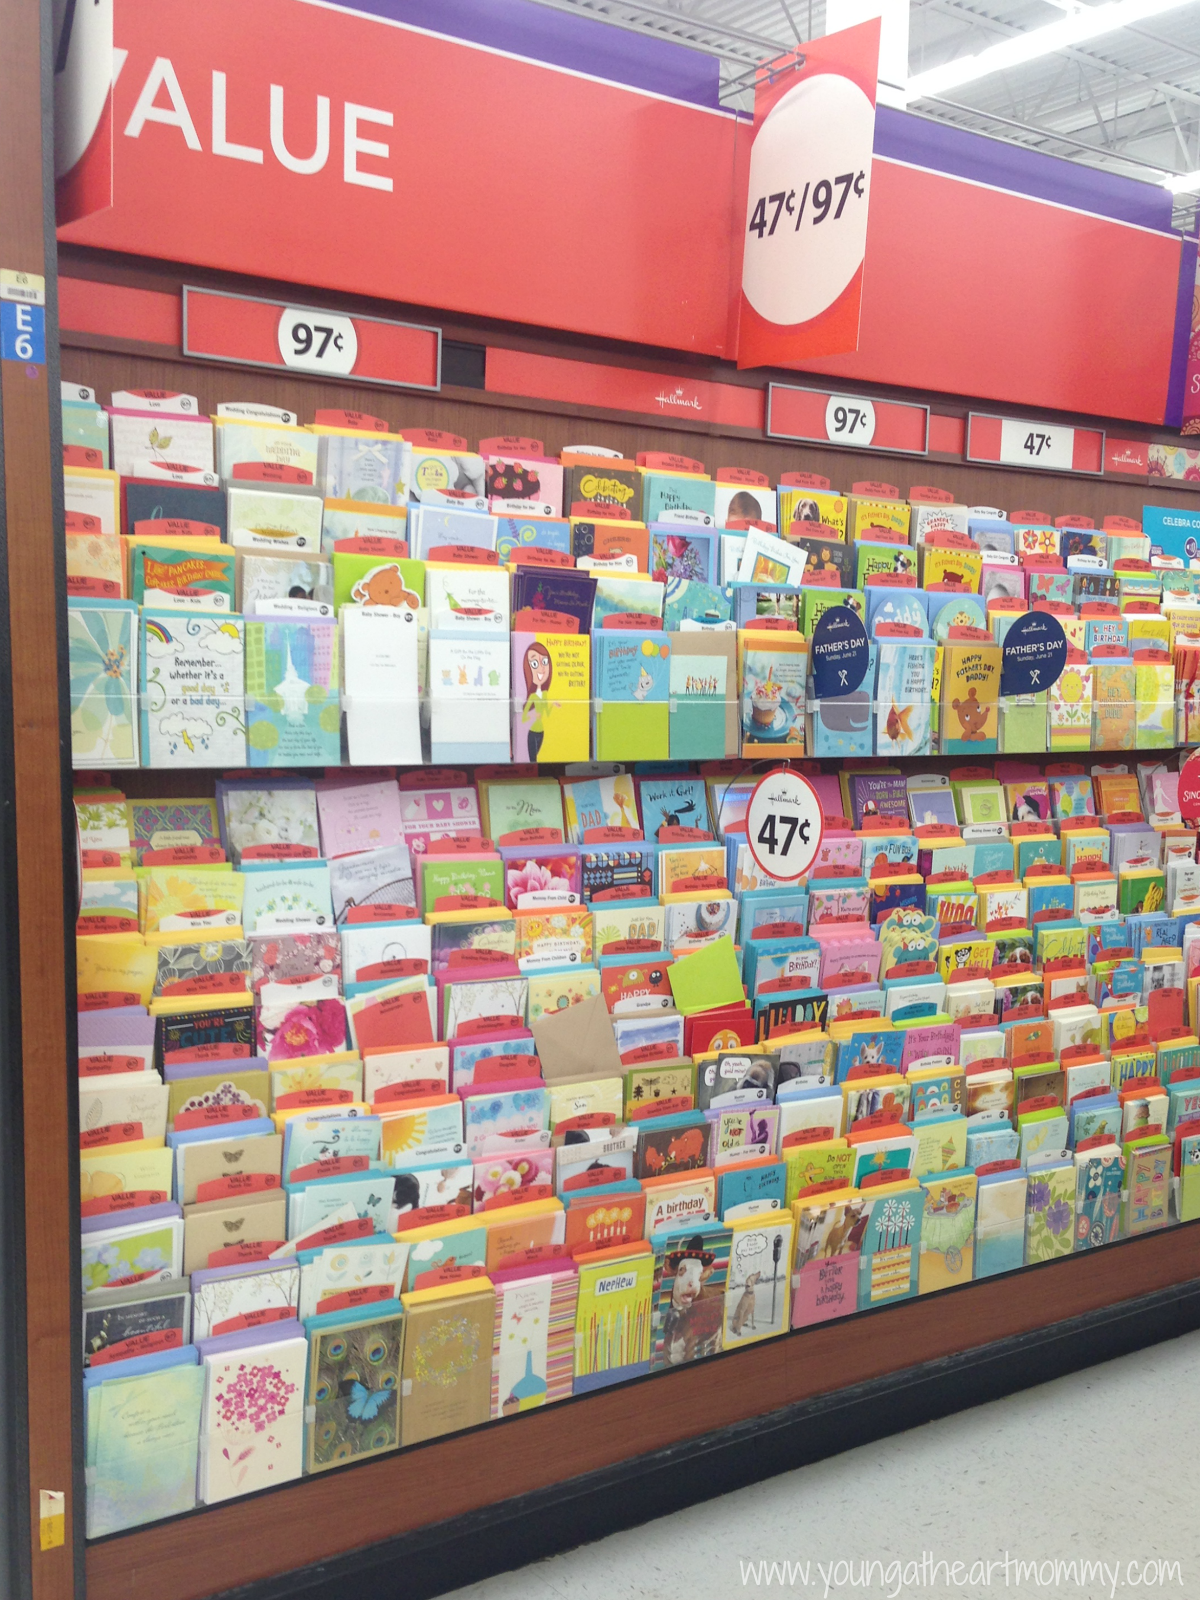
I never thought I would willingly admit this but over the years it’s been brought to my attention that I have become a greeting card hoarder collector. With two full boxes sitting in the closet it’s hard to deny my fondness for those with a heart warming message or beautiful designs on the front. They always find a way to suck me in, especially when I get lost in Walmart at 2 in the morning and am reminded of how many celebrations call for warm wishes throughout the year. Luckily, they have a huge selection of affordable Hallmark cards starting at just 47 cents a piece. It’s easy to go in with the intention of picking up one or two and leave with a dozen in your cart. They also carry wrapping paper, tissue paper, and bows to complete your gift.
As my stockpile grows it dwindles down just as quickly because every month we have a birthday, holiday, or occasion that must be observed. This time of year is birthday central. It feels like everyone I know was born during the summer months to come. Toodie has a classmate celebrating a birthday this month in addition to a close family friend turning the BIG 21 and one of our pups too. That’s three right there and we haven’t even made it out of May! Whether you’re a friend, family member, or acquaintance – a thoughtful Hallmark card is guaranteed to put a smile on anyone’s face during their special day.
Greeting cards are more than just a way to deliver a thoughtful message to someone we care for. They also act as a keepsake long after the occasion being celebrated has passed. I still have every card that my daughter has ever given me, even those that are merely covered in scribble! I know she may not care about them now but when she is older it will give her the opportunity to reminisce the moments we shared. My mom did the same for me and I still look at them today to read the heart warming notes I wrote for her inside. One day she will treasure them as much as I do because the memories attached are priceless. I find myself looking through them now because I am still in disbelief I have a 6 year old in Kindergarten!
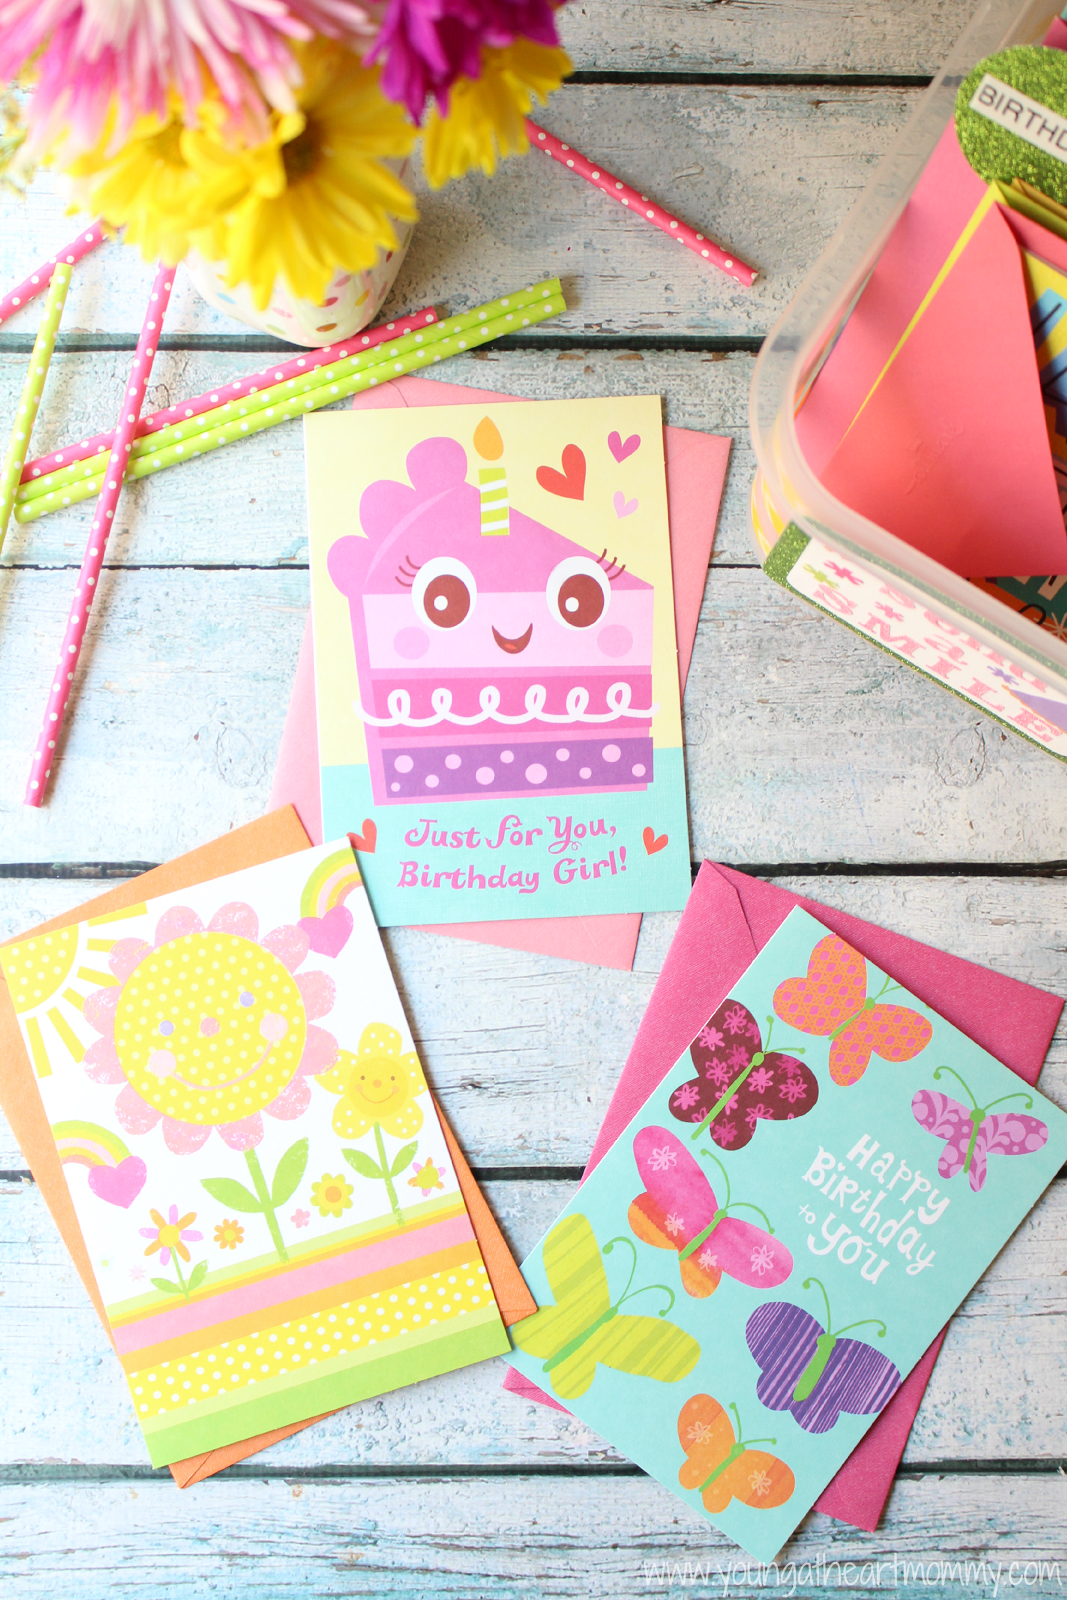
When Toodie started Kindergarten last year I had no idea how many birthday parties we would be attending. Since her birthday is in February I created a rule, if someone attends her party then it is only right to be a part of their day as well. With that being said I have had my fix of bounce houses, cupcakes, face painters, balloons, bubbles, and farm animals to last me a decade. At this age parties are a big deal but my favorite part is helping Toodie fill out the card and gift for her little friends. While stocking up to build my own collection I also made sure to get a handful of the bright colored child-like cards that were sure to be utilized in the next few months.
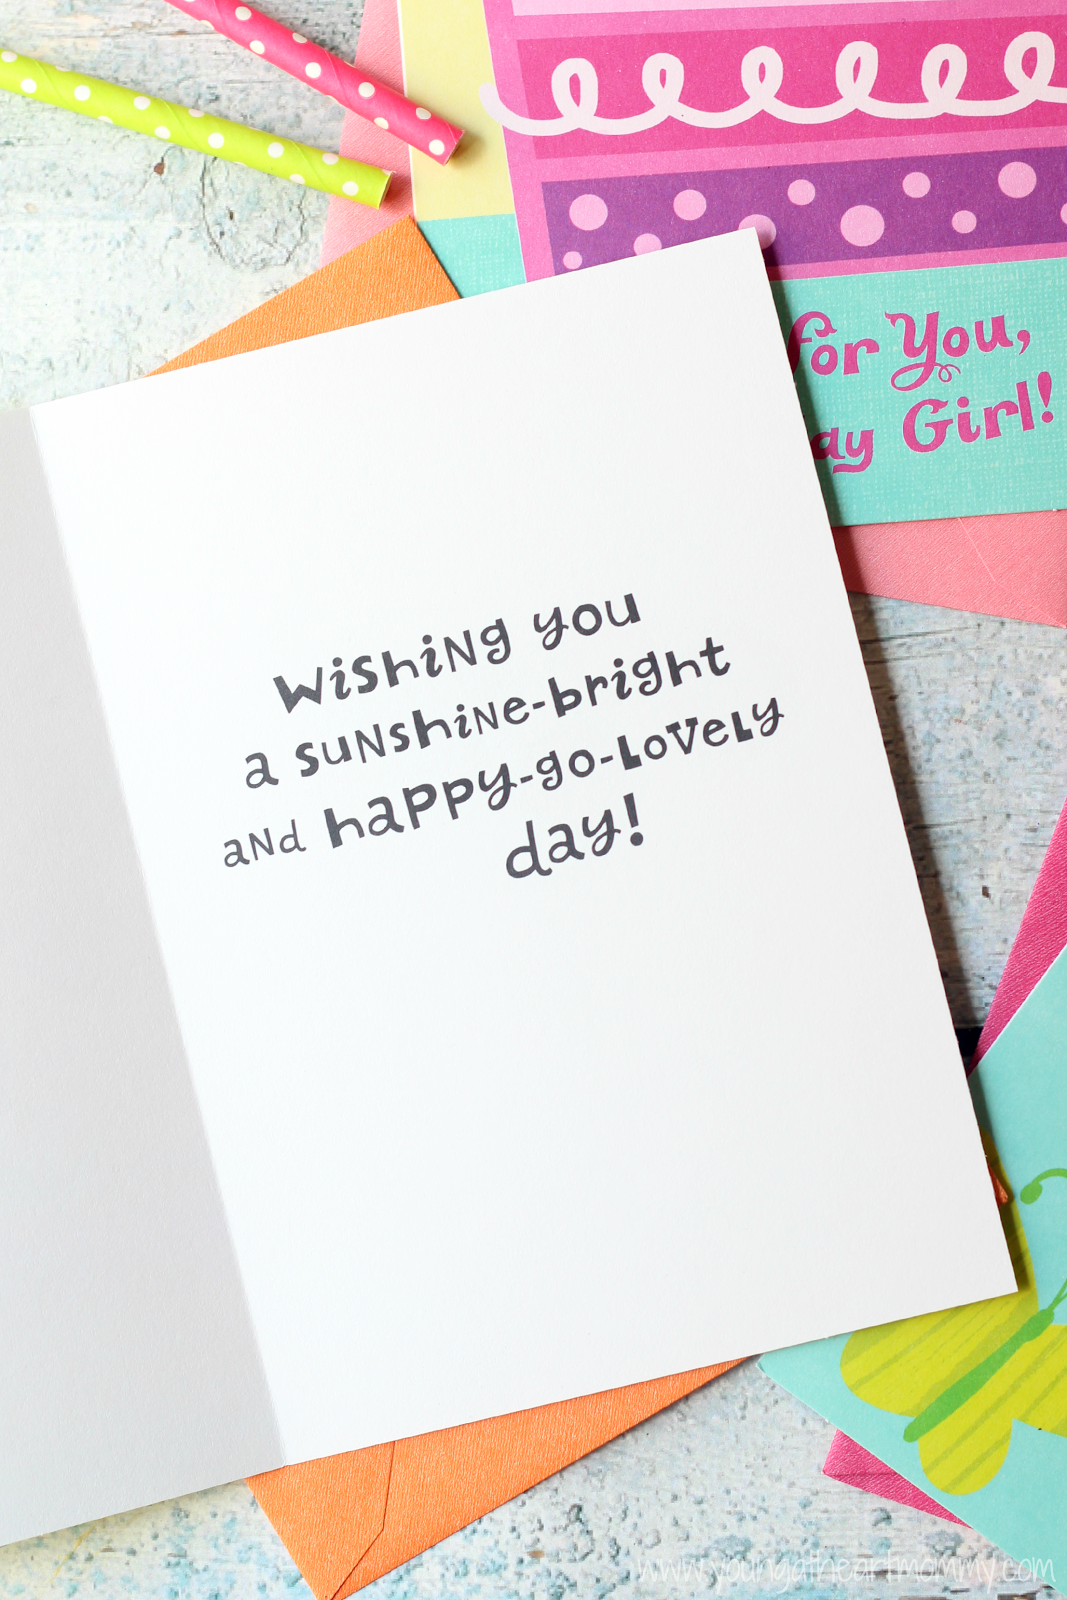
Honestly, I had a hard time picking a “handful” because the fun graphics were just as cute as the messages printed inside. I still can’t believe they were only 47 cents. You really can’t beat that price or value, especially with the quality of the card itself. They make me want to be a kid again!
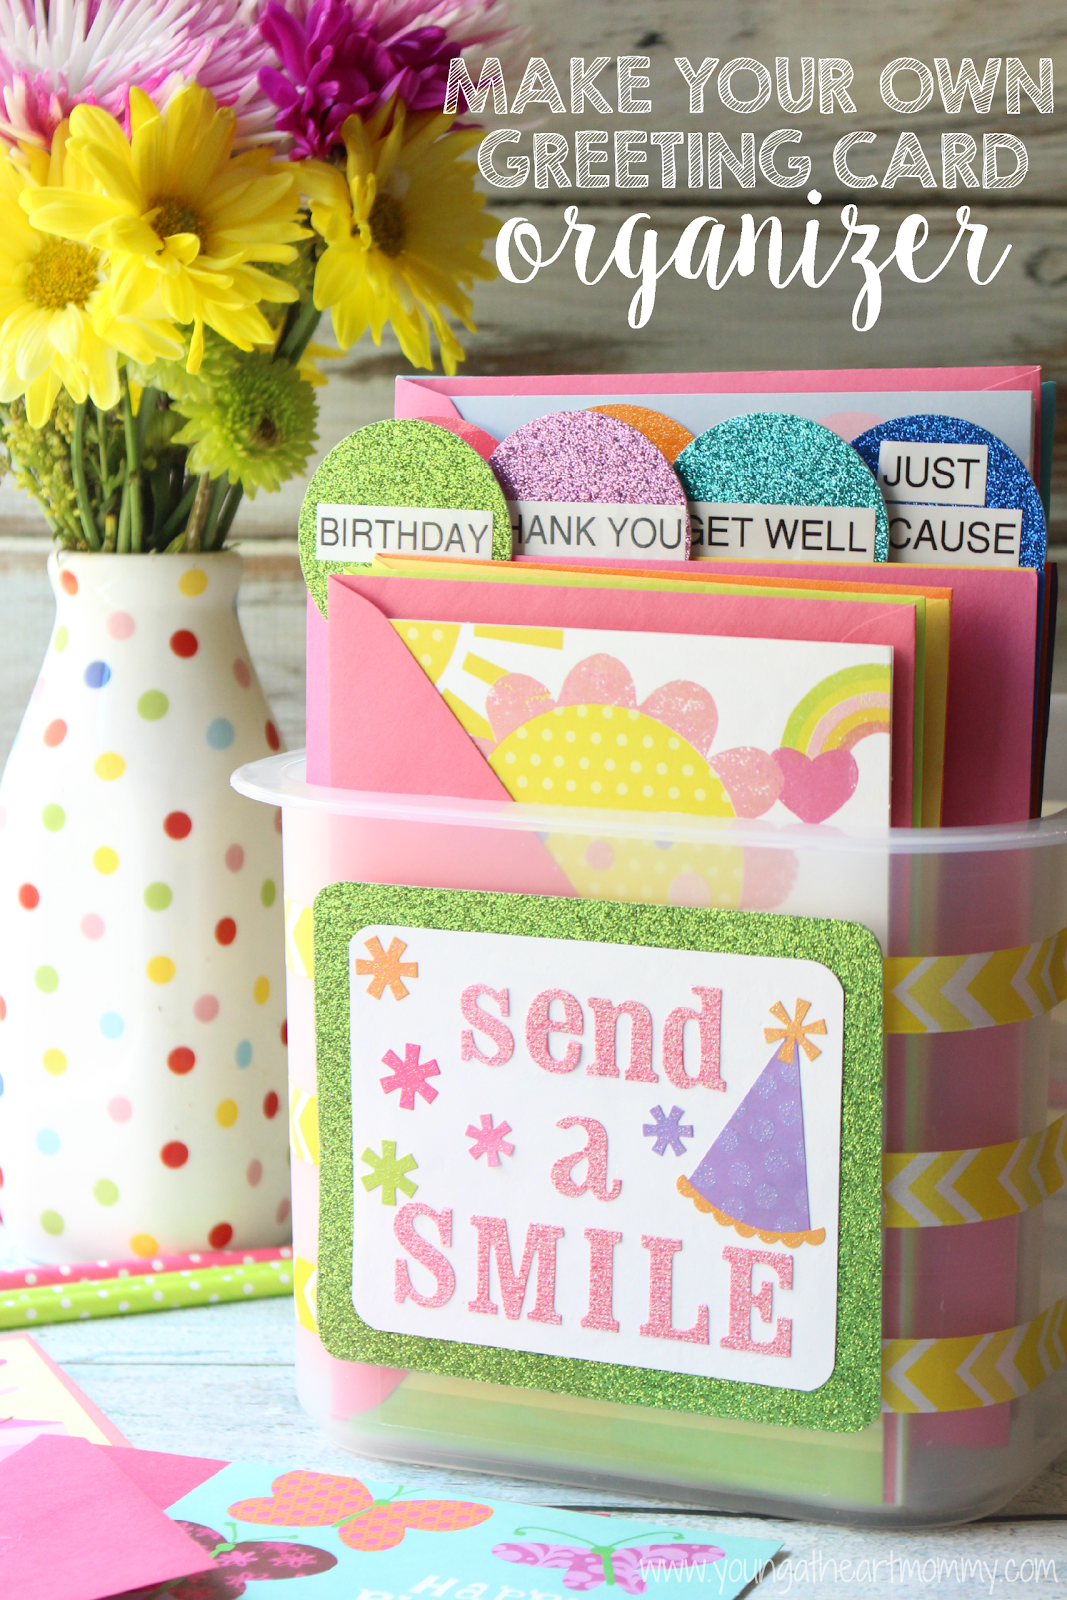
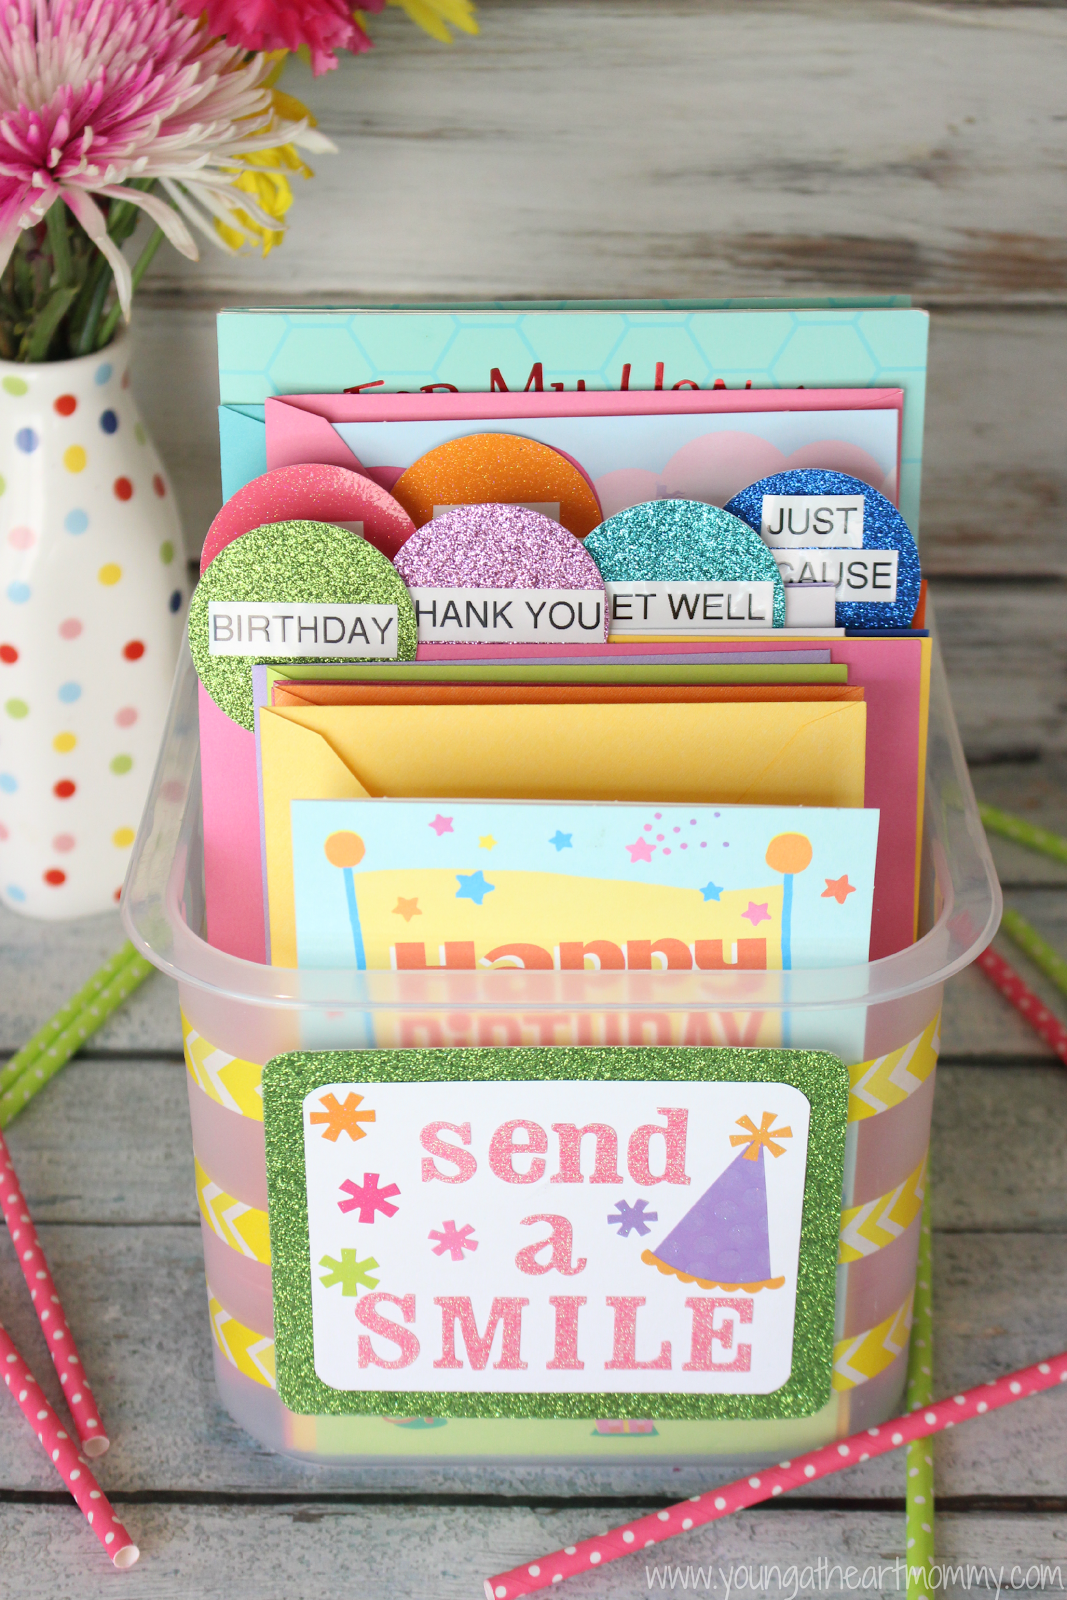
With all of the new additions to my current card collection I needed a bigger, better, and more organized method to keep them arranged neatly. If you’re like me with an overwhelming stash lying about then you may want to check out how easy it is to make this DIY Greeting Card Organizer to help keep them all in one place.
You only need a few things, some in which you may already have around the house:
- a small to medium sized plastic storage container
- glue
- washi tape
- colored and/or glittered card stock
- a label maker or sticky label tabs in which you can write on yourself
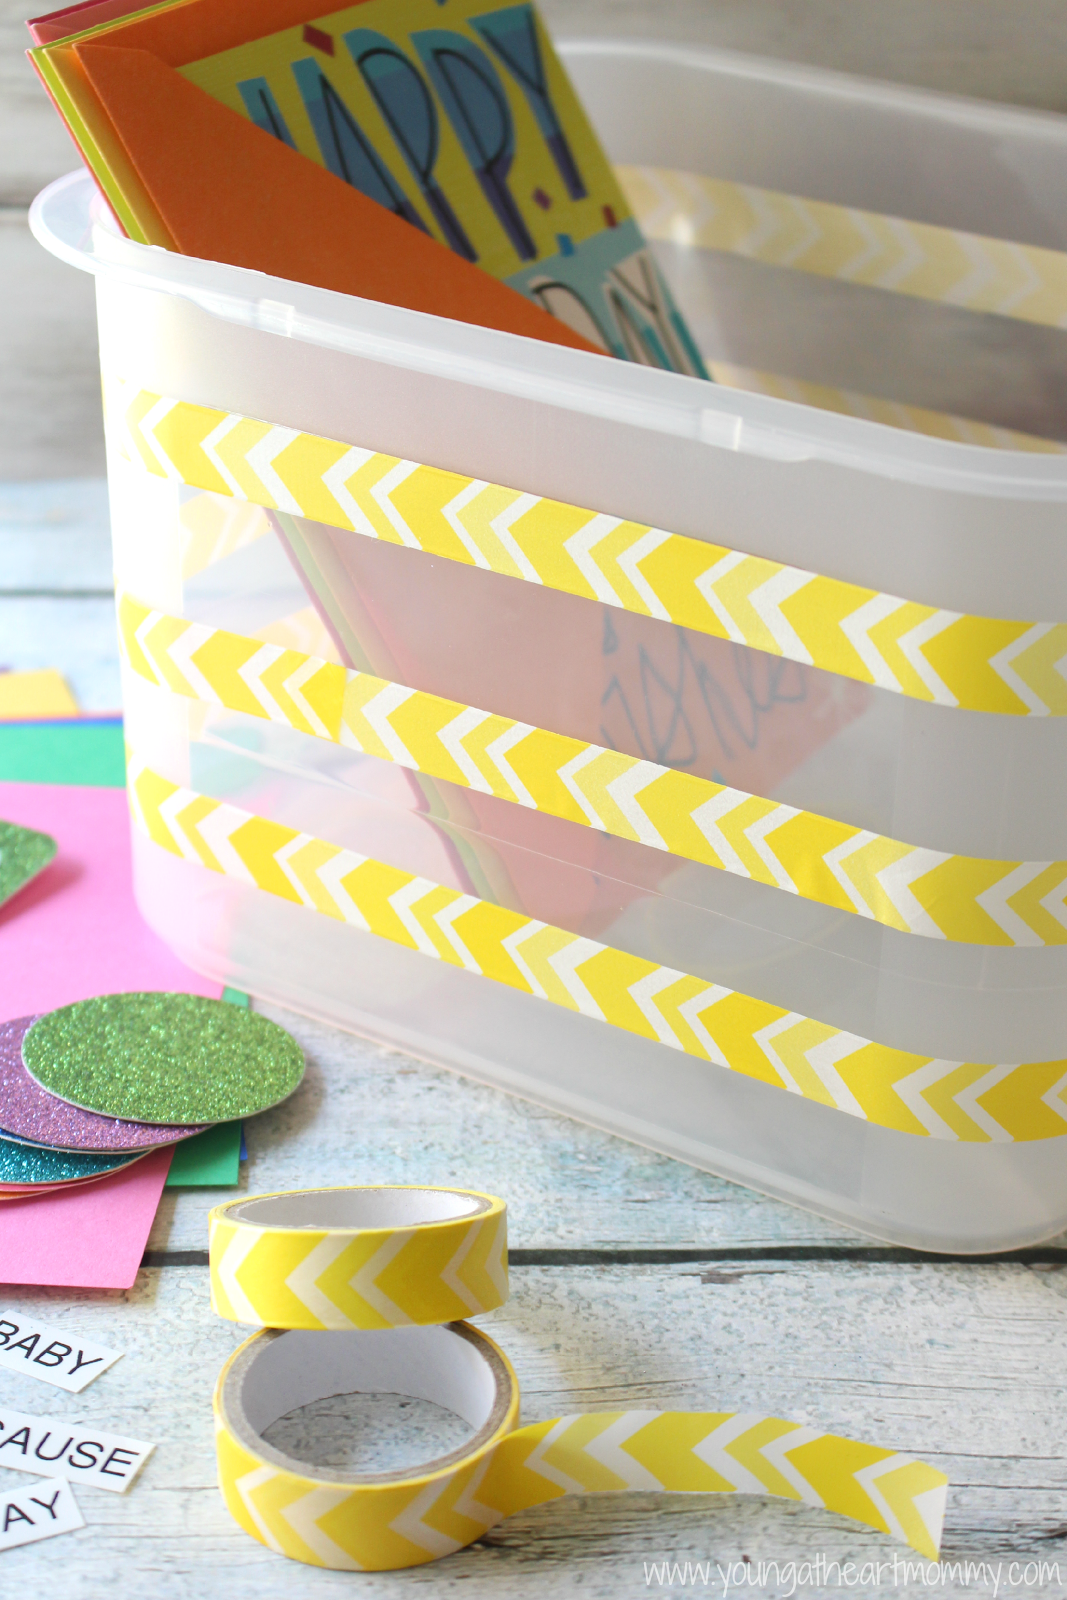
Start by using washi tape to decorate the outside of the storage container. Wrap it around three or four times to create a design and add a little personality to the box. I chose a yellow chevron pattern because I wanted my greeting card organizer to be bright, bubbly, and FUN!
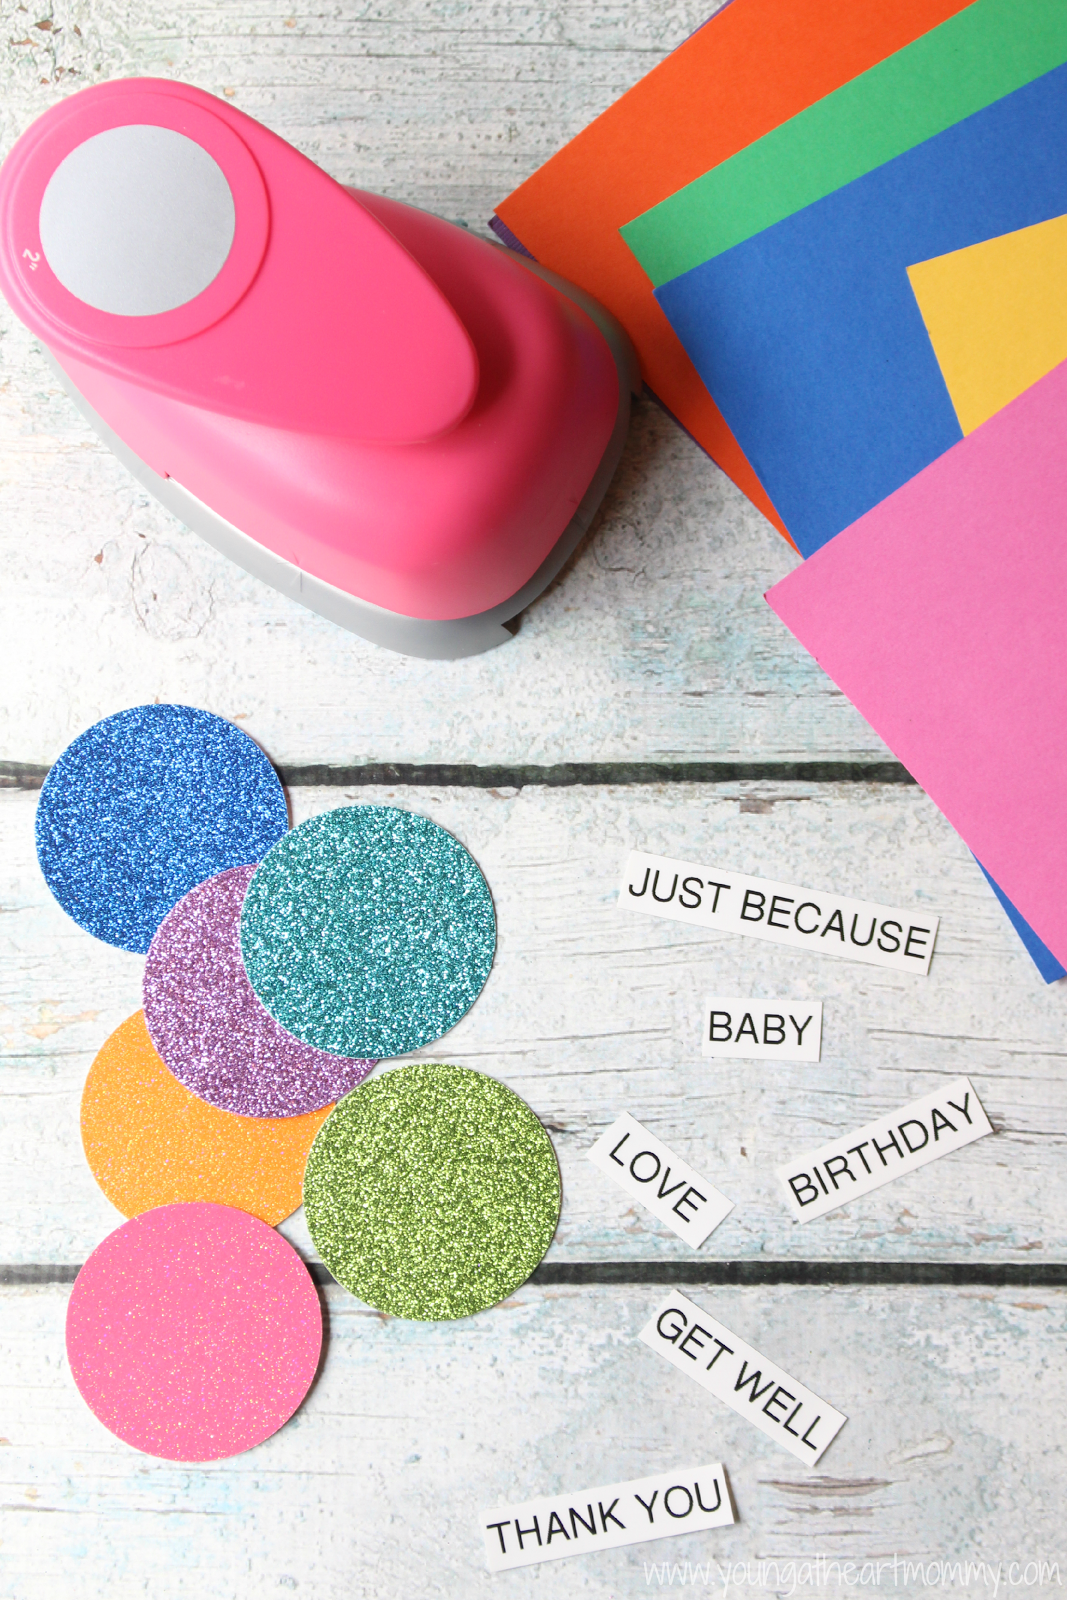
When creating the tabs to divide the different occasions I used a 2 inch circle punch and various colors of glittered card stock. For the labels themselves you can make your own categories using a label maker or write them out onto self-adhesive tabs. If you are using the glittered paper I suggest applying the labels with a small amount of glue on the back rather than relying on the sticky adhesive. It may stick right away but after a few hours you will notice they begin to fall off. Glue will keep them in place and secure.
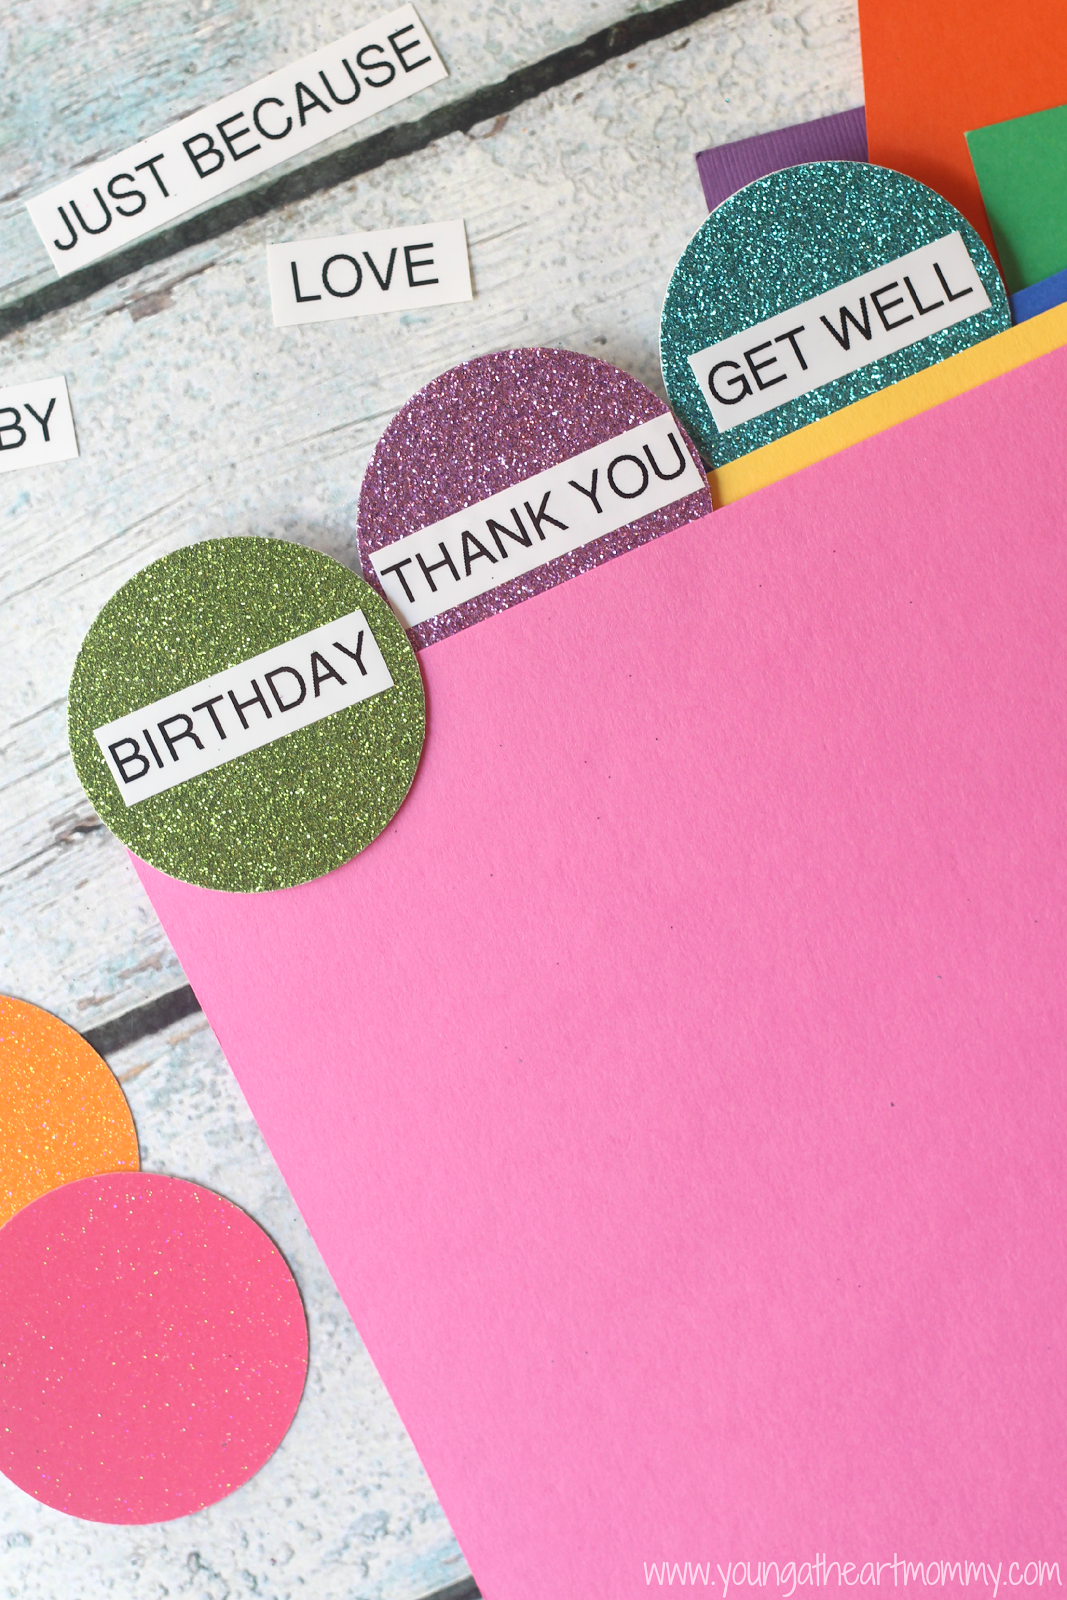
For the dividers I used brightly colored card stock and cut each piece down to size to fit the shape of the storage bin. Once again, I used glue to adhere the labels I made previously and attached them in a cascading pattern so I could see each category when placed inside of the box.
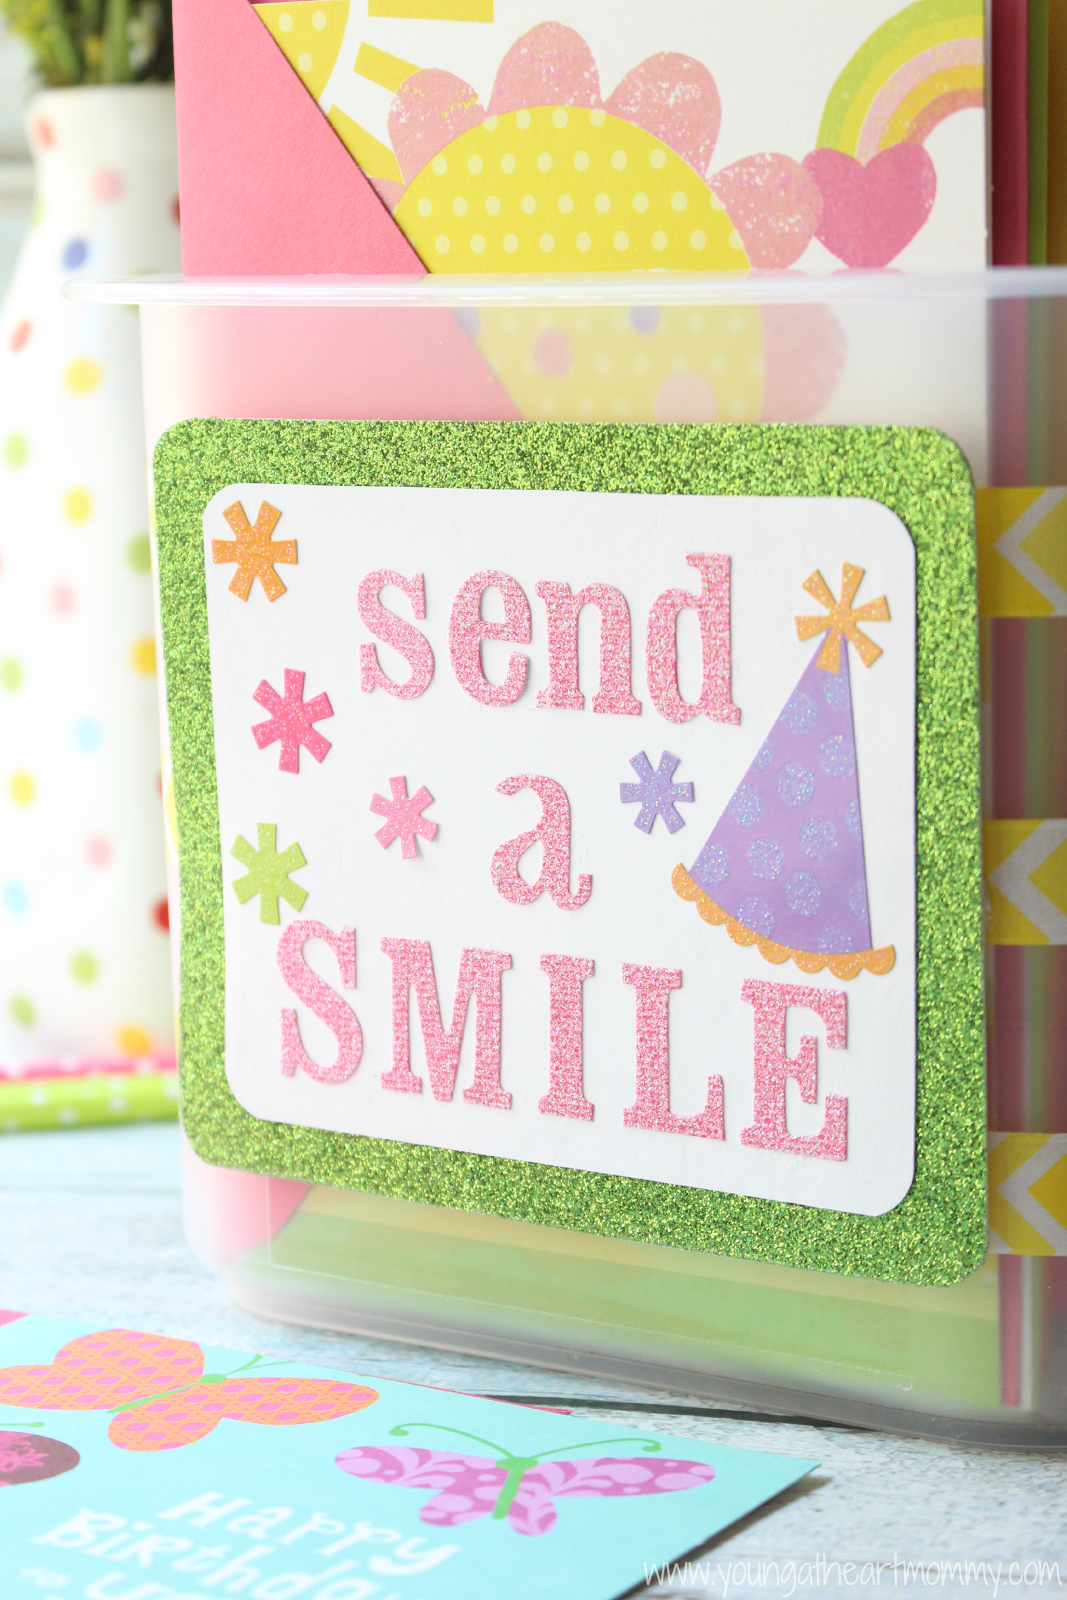
The outside needed a little something extra so using my leftover glittered card stock, decorative stickers, and alphabet stickers I made a colorful label to tie the whole organizer together.
Now that you have a way to keep all of your greeting cards arranged there should be no excuse to stock up today and throughout the year!
How do you keep your greeting cards organized?
Who will you be sending a smile to during the summer time?


this is soo cute! I noticed recently going through various stash piles that my cards are all over the place. This is a nice way to have cards easy to access and maybe even help send out a few more – who doesn't like getting a card?!!!
What a fun idea to keep your cards organized and ensure you''re making your loved ones feel special! #client
great idea this would be awesome for a craft day with the kids denise smith
just beautiful and smart
This is so pretty! I love all the bright colors and glitter paper. I make cards so I need a larger container, with a lid, but this I Dea is wonderful! Thank you for sharing.