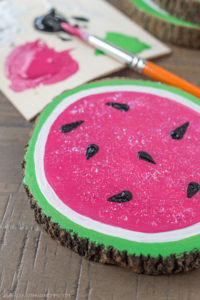
Is there anything cuter than a watermelon coaster to place your cold drink on during a sunny day outside?
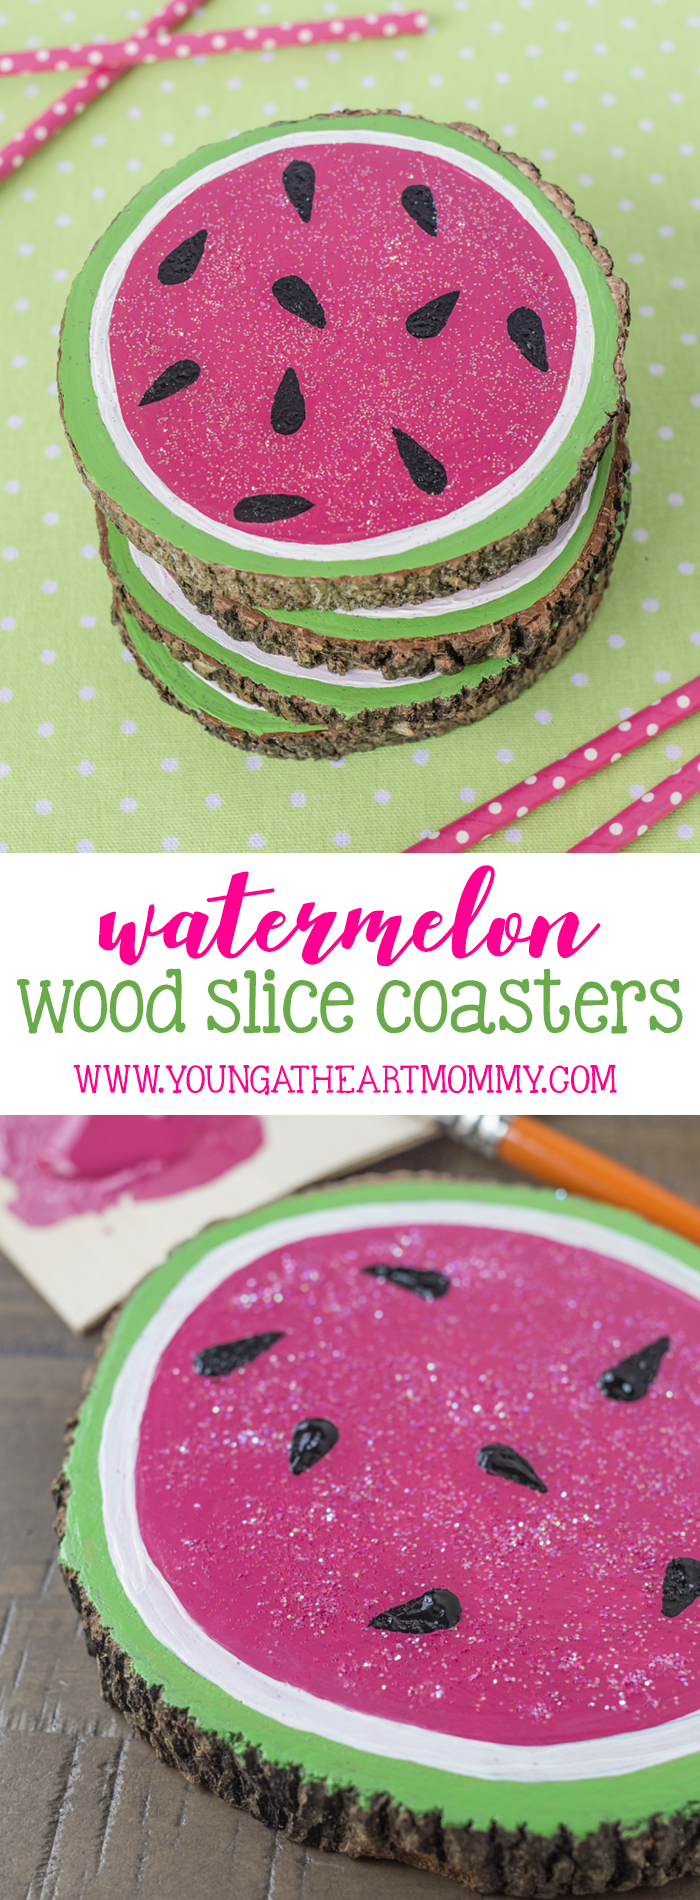 Sweeten up wood slices with a touch of paint and hint of glitter for the perfect summer table decor.
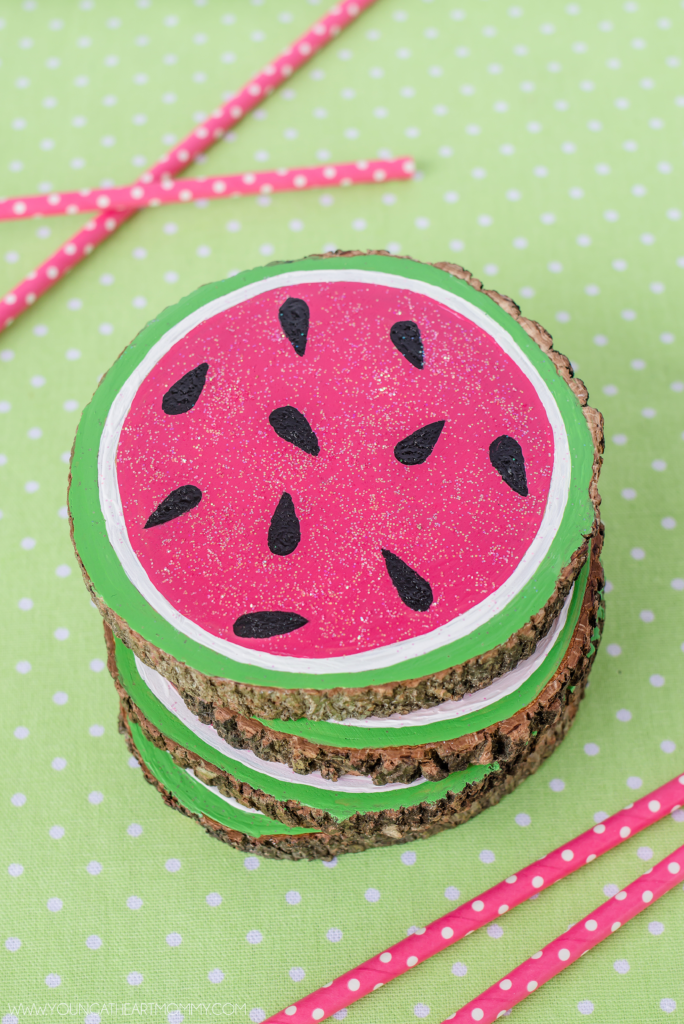
From pineapples and strawberries to watermelons and oranges, the fruit-filled trend has taken over! This year summer is all about the citrus and what better way to celebrate the fruit-astic fun than with an easy DIY project? Here is an affordable and creative way to add bold colors to your table this summer with a set of Wooden Watermelon Coasters!
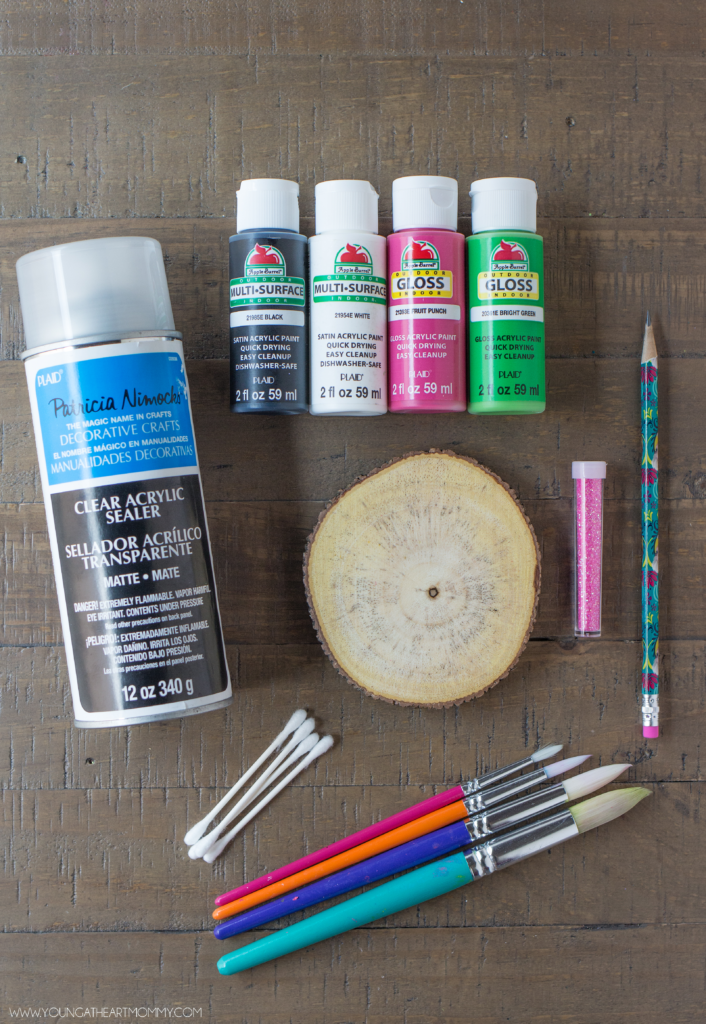
What You Need:
- tree bark coasters
- acrylic paints: pink or red, black, green, and white
- paint brushes
- pencil
- iridescent glitter
- acrylic sealer spray, satin varnish, or good ol’ Mod Podge
- q-tips (optional but they make life easier)
Directions:
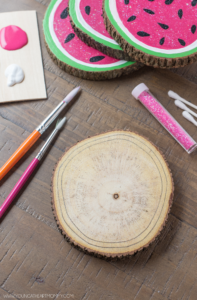
Begin by using your pencil to create the outline for your watermelon. Since the wooden coasters are not perfectly round, it is easier to free-hand the lines rather than trace something circular, such as the rim of a glass.
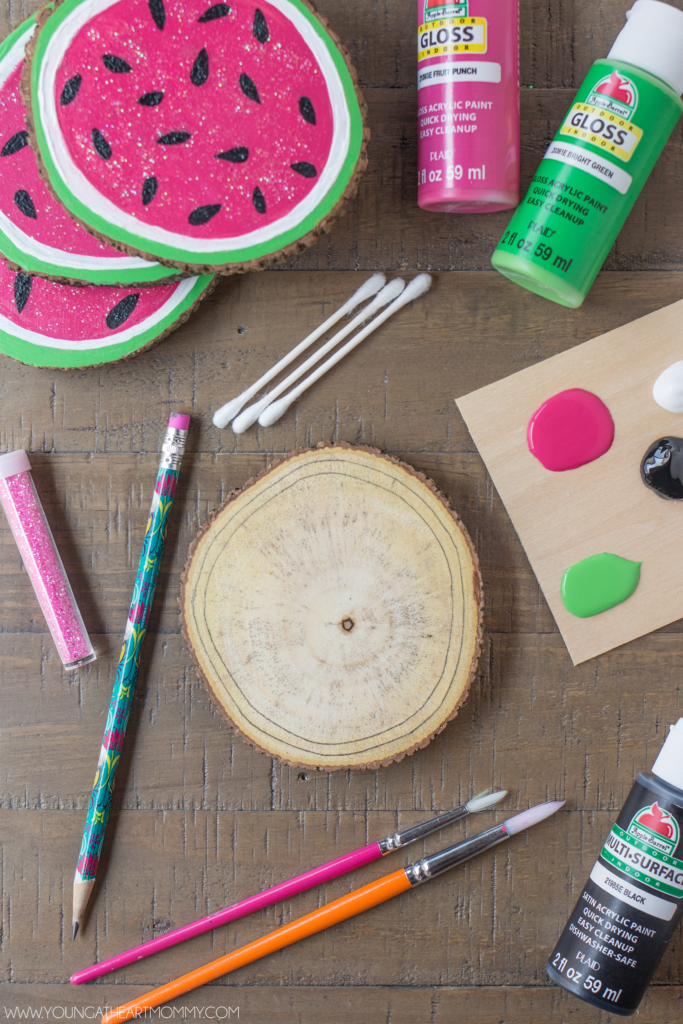
You should have two thin layers drawn towards the outer edge of the coaster. Watermelons come in many different shapes and sizes so don’t worry about the lines being perfect. This is just to give you an idea as to where you will be painting the skin (green) and flesh of the melon (white). You can always straighten the lines up with paint as you go.
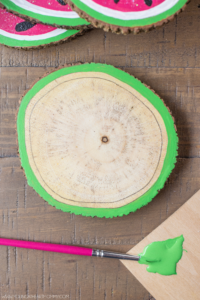
Use a thin paintbrush and green paint to create the skin of the watermelon. Depending on what type or quality of paint you are using, it is best to apply two coats so the wood does not show through. This should be done after the first layer has had time to dry but you should repeat this process with each color used.
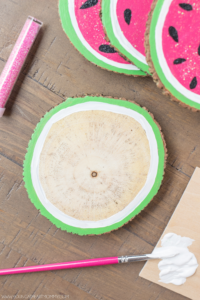
Complete the same process with the white paint for the following layer.
Apply the pink or red paint to the center of the watermelon. While still wet, sprinkle on glitter, but only in the middle.
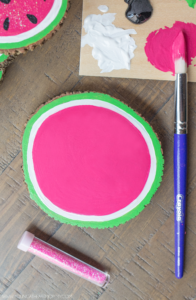
The trickiest part is painting the seeds. The easiest method to do so is to use a q-tip and a thin paintbrush. First, dab the end of the q-tip into the black paint and make dots in the center of the melon. Once dots are placed, use the thin paintbrush to drag out the paint and create a tapered look, forming a seed. Once complete, seal the paint with an acrylic spray or finish.


We are totally making these! I have a ton of leftover wood disks from Christmas that I could use.
Oh, these are adorable! They don’t seem like a lot of work, just a lot of fun to make with the family. I have these planned already, thanks! 🙂
They are so adorable. I could see them being used for a party. They look so wonderful.
These are so adorable!!!! Love them! 😉
How adorable! Such a creative and fun idea, I love it!
This is such a cute craft for summer! Thanks for sharing.
These coasters are so cute!