These chocolate covered Sugar Skull Oreo Cookies are a colorful and creative Halloween treat to serve to your little ghouls this year!
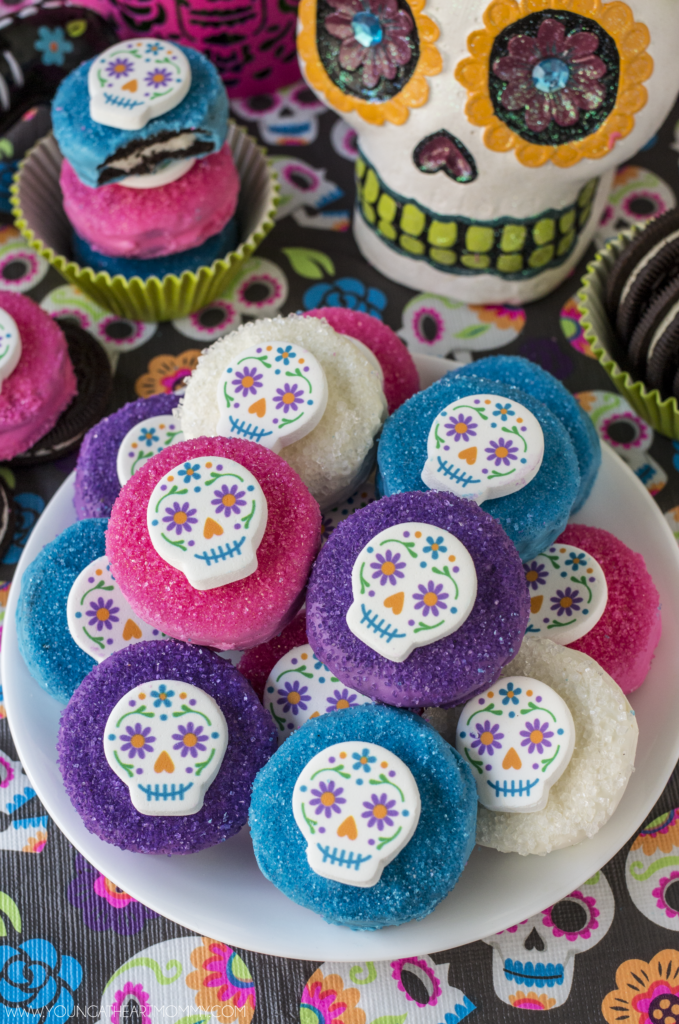
Halloween may be more than a month away but I couldn’t resist getting started early this year with a batch of Sugar Skull Oreo Cookies. It’s hard to wait when decorations, candy, baking supplies, costumes, carving kits and pumpkins are already displayed at most retailers. The best part about getting a head start is having more time to enjoy each and every aspect of the spooky season. I love Halloween and try to soak it all up before the holidays arrive. Plus, I had eleven bags of chocolate melts in my pantry that needed to be used so I think that’s a pretty good excuse in itself to make something sweet.
SUGAR SKULL OREO COOKIES
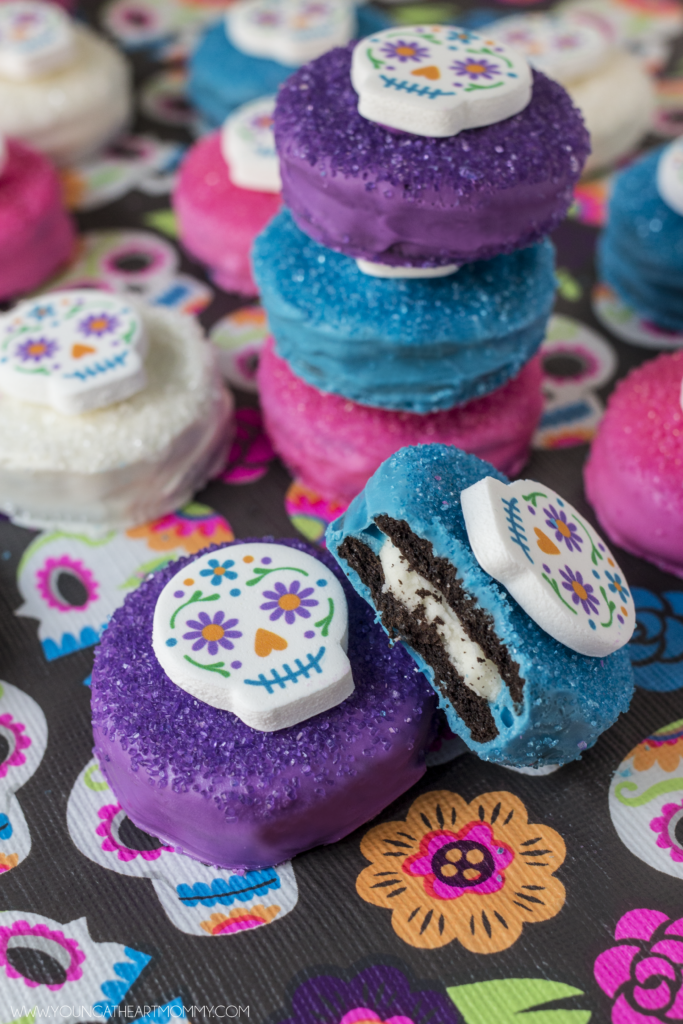
If your family is anything like mine, it’s unlikely that they will turn down a chocolate covered Oreo encrusted in sugar crystals. These not-so-spooky sugar skull cookies may not be traditional but they sure are fun, colorful, and made to brighten your day …. Day of the Dead that is! Here’s how you can make your own.
Ingredients:
- 1 package of Oreo cookies
- Wilton Candy Melts in various bright colors ( hot pink, lavender, blue, white, etc. )
- Sanding sugar or sprinkles in coordinating shades
- Wilton Sugar Skull Icing Decorations
- wax or parchment paper
Directions:
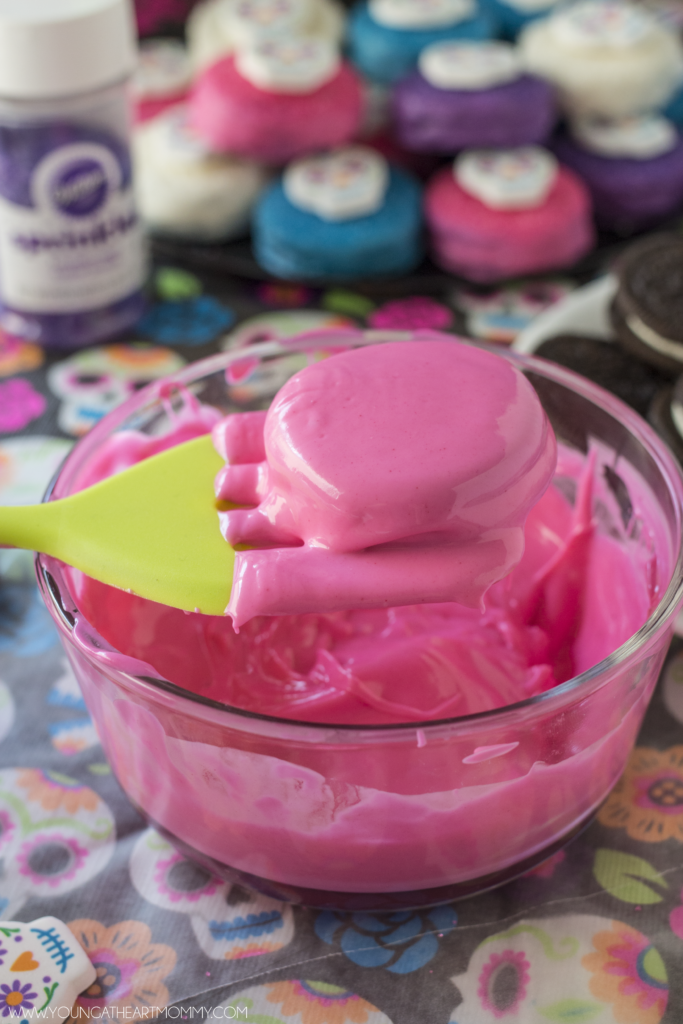
STEP 1: In a microwave safe bowl, heat chocolate discs in 60 second intervals and stir constantly in between each. If working with multiple colors, I suggest focusing on one at a time because the chocolate tends to harden quickly. If the chocolate is too thick, add a tsp. of vegetable or coconut oil to it. This will thin it out and provide a smooth finish.
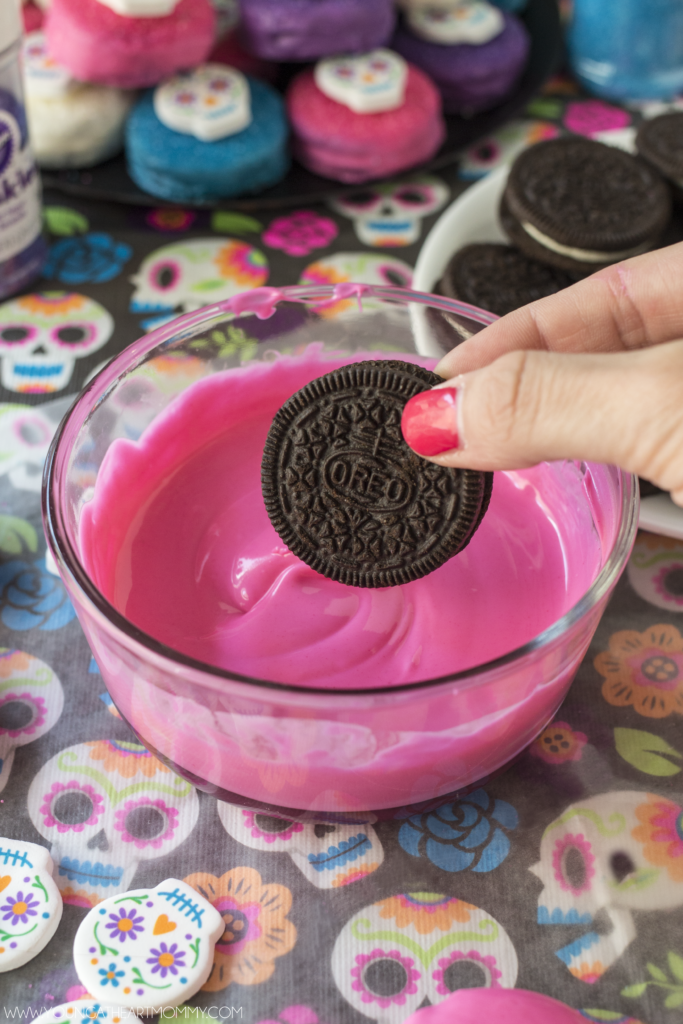
STEP 2: Dip each individual cookie into the melted chocolate and use a spoon to make sure each side is evenly coated. If you have a small rubber spatula on hand, it’s the perfect tool to scoop out the cookie while allowing the excess chocolate to drip off. If not, a fork will do the trick.
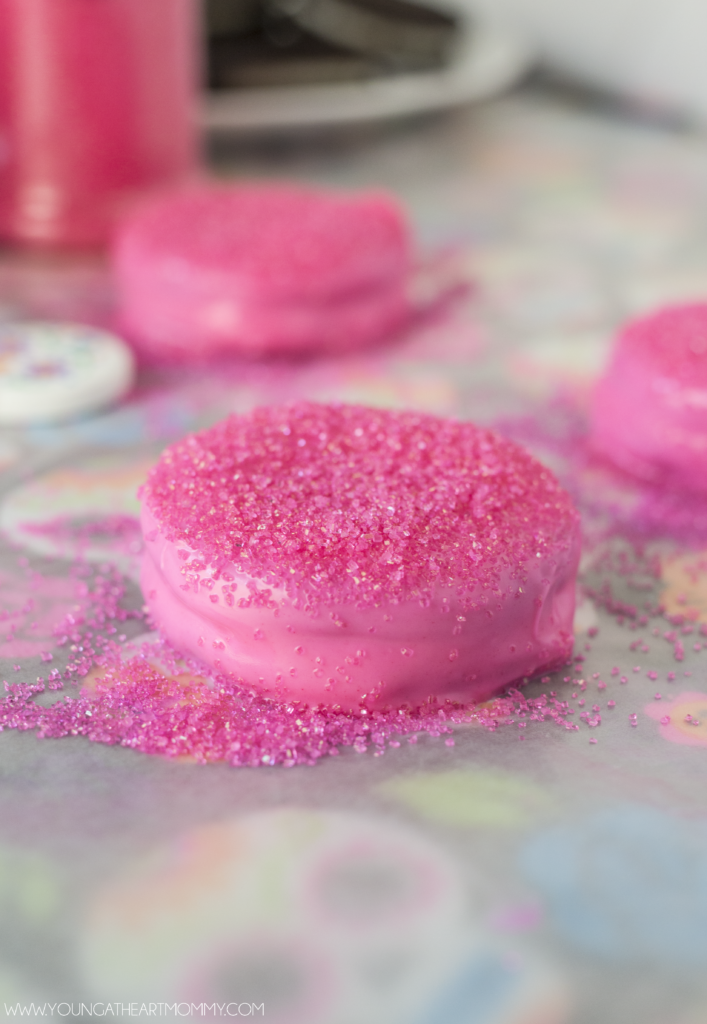
STEP 3: Next, Carefully place each cookie on a piece of parchment or wax paper. Immediately sprinkle with sugar or sprinkles. Don’t worry if the bottom edges are messy. Once they have hardened and the chocolate has set, you can break away most of the little jagged pieces left behind.
STEP 4: Last, put a small dab of melted chocolate on the back of the edible Sugar Skull decorations and place one in the center of each cookie. Refrigerate for about 5-7 minutes or until chocolate has hardened.
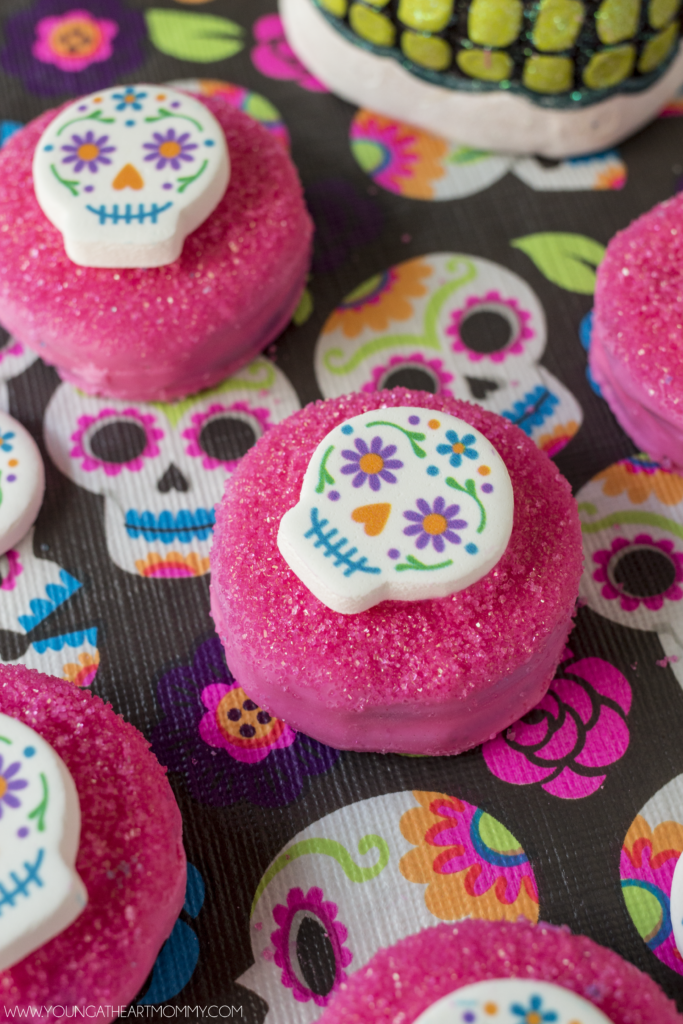
Face it, there’s no escaping the sweets and treats this Halloween. You might as well make something that will knock the socks off the skeletons and these Sugar Skull Oreo Cookies will get the job done!



OMG THOSE ARE AWESOME! Well done -seriously! You are friggin’ creative!! Ha! I know soooo many people who would be beyond thrilled with me if I gifted some of these to them!
Thank you!! I love how they turned out, especially because they’re so vibrant- just like sugar skulls. It’s amazing what you can turn an OREO into!
I may have to make these!! So dang cute, Great job!! And thank you for sharing ? I saw them and had to see how to make them!! Yum! The colors are just Amazing!
Thank you so much Holly! They are VERY easy to make and such a fun treat for Halloween. 🙂
Too bad the wilton sugar skull is not Canada
I want to make these ahead of time for a birthday party. Do you think they would freeze well?
Yes I’m sure they will. I actually stick mine in the freezer too and they are perfectly fine. I have made similar ones for my daughter’s birthday party and they tasted great cold too!
We’re did you buy the skulls
Hi Daisy. The Sugar Skulls are by Wilton and I believe I purchased them at Target in the Halloween section where they have all of their baking items.