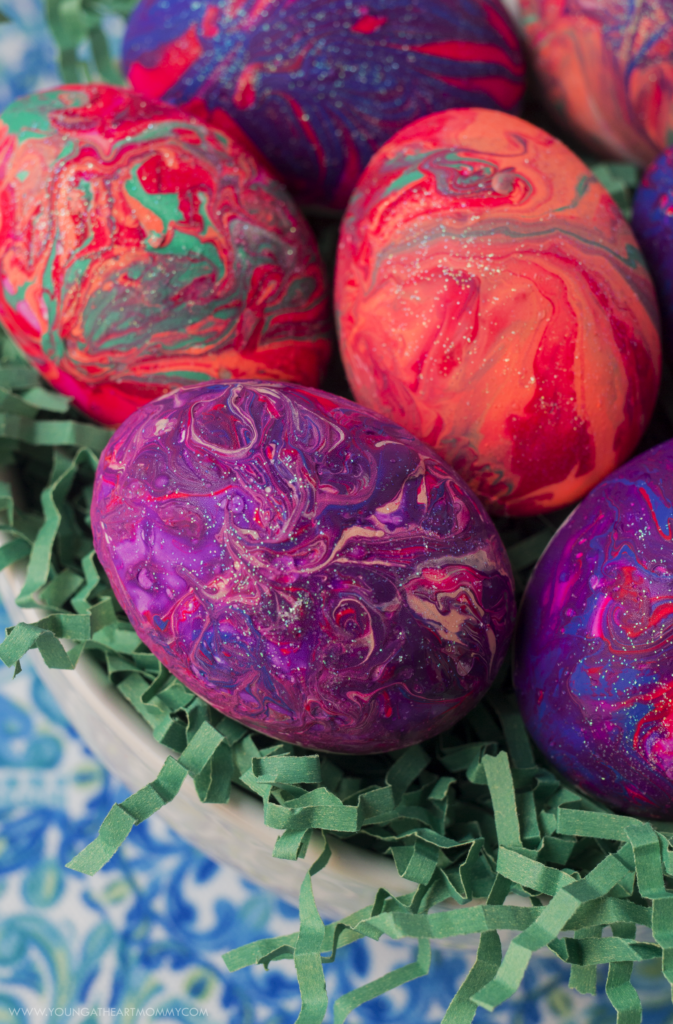
Take your decorating skills to the next level by using nail polish to create colorful marbled patterns and swirls on Easter eggs!
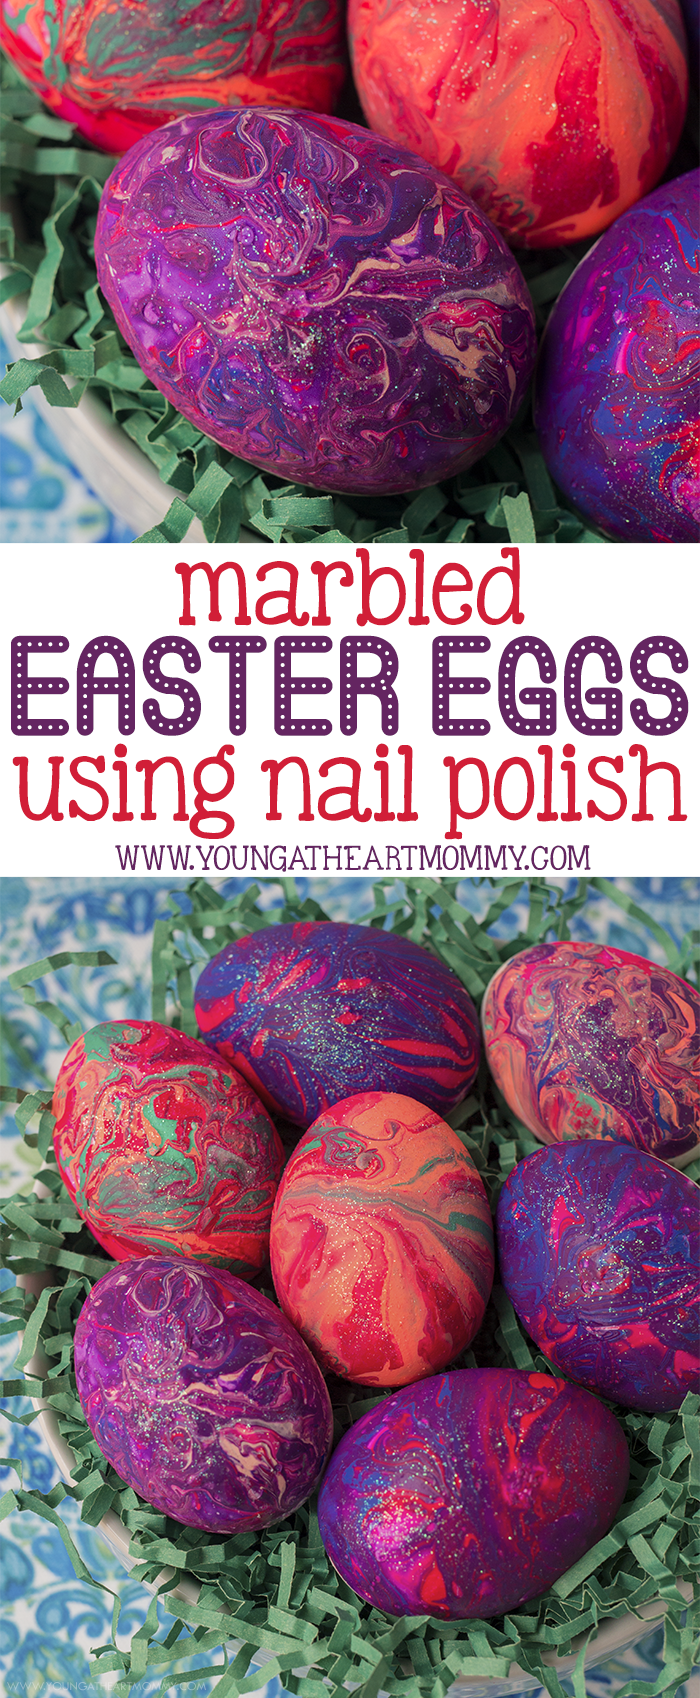
Spring is the air, everywhere you look around. It’s time to transition to warm sunny days, colorful flowers, blooming plants, and sweet little creatures emerging from their burrows. With Easter arriving soon, I’m getting started early on the crafts, recipes, and one of my favorite traditions- coloring hard-boiled eggs. Even though I believe in staying true to tradition, the store-bought dyeing kits have lost their momentum over the years. Leave the basic & boring behind for a new method that’s guaranteed to deliver a basket full of colorful eggs that the Easter Bunny himself would approve. This technique is so much fun and the finish of each is always unique. To make these swirled eggs, you’ll need a handful of your favorite nail polish colors. The brighter, the better!
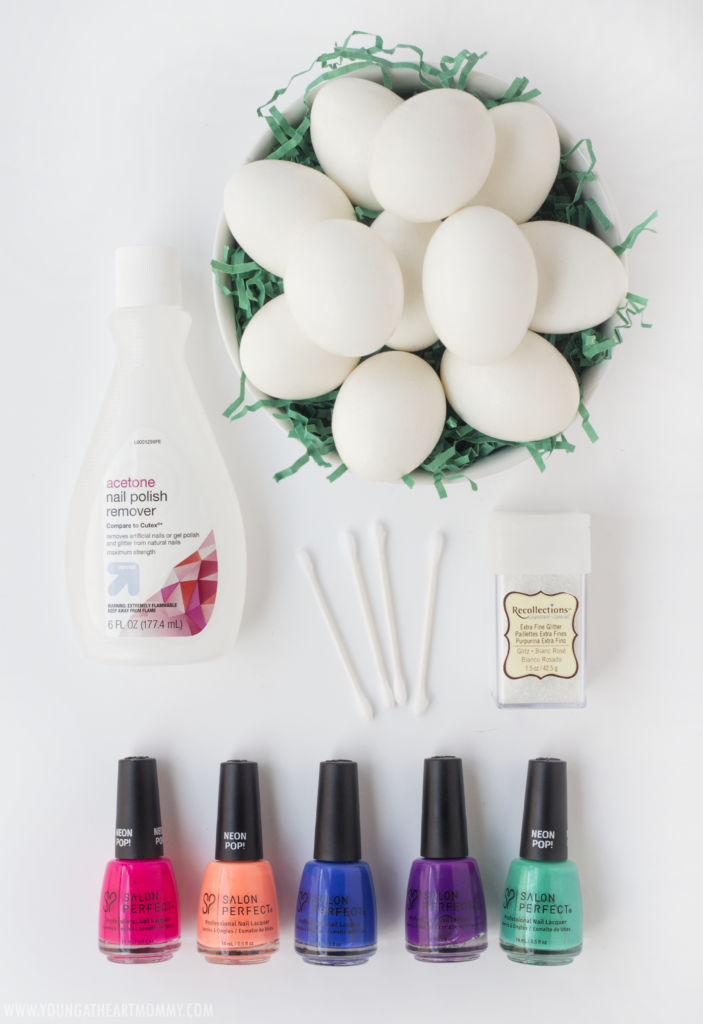
Supplies:
- 6-12 hard-boiled eggs
- disposable plastic container or bowl
- nail polish in various colors
- extra fine iridescent glitter
- toothpicks
- nail polish remover & q-tips (for clean up afterwards)
Directions:
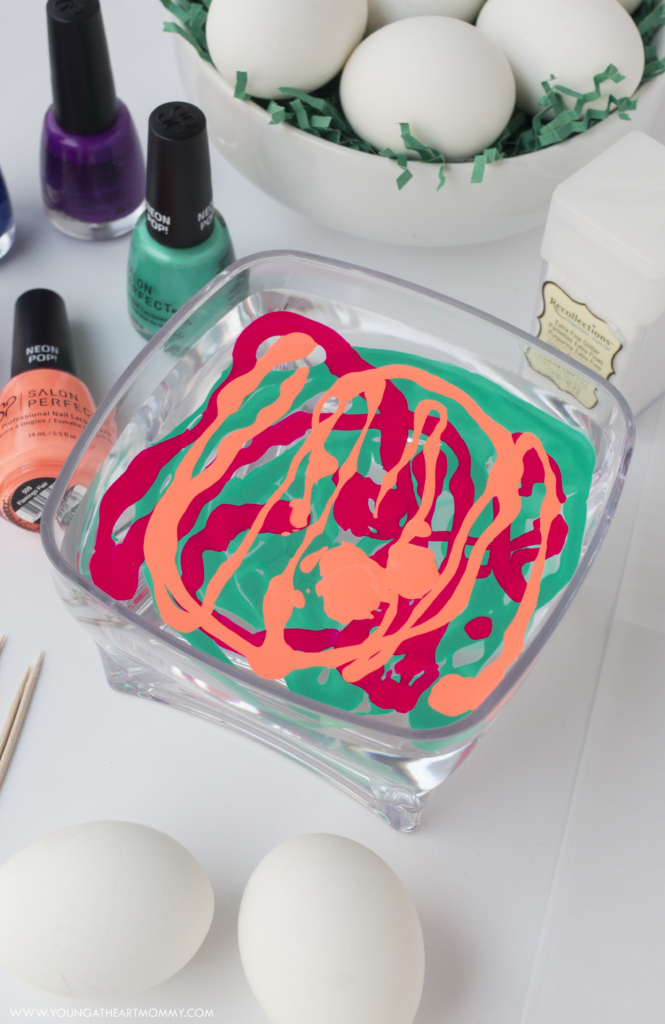
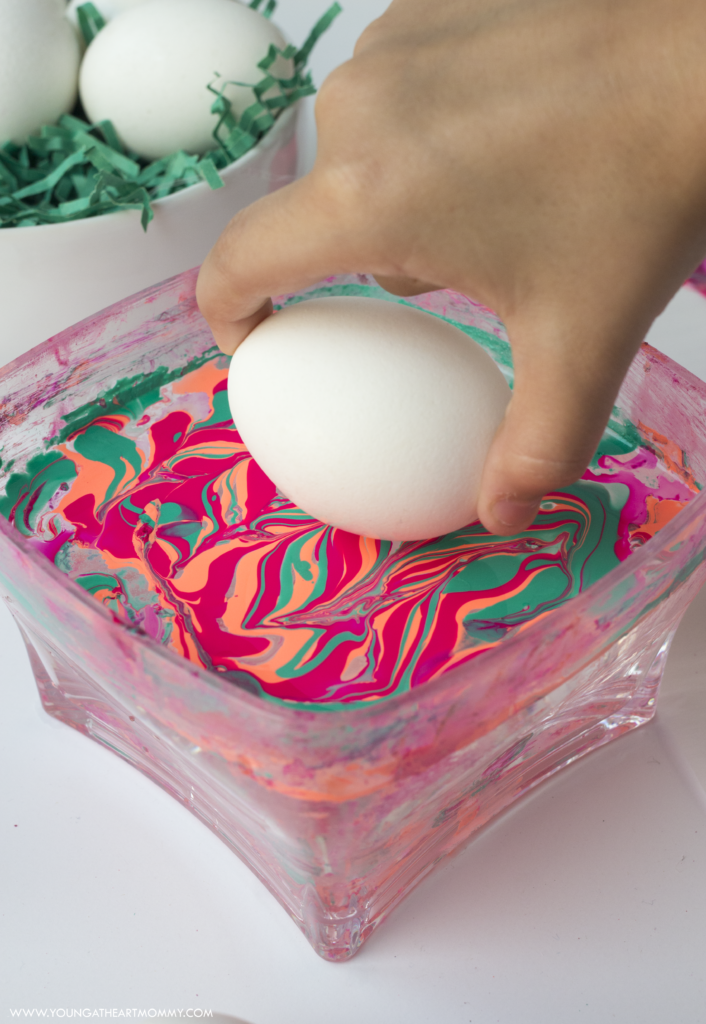
Fill a plastic bowl with room temperature water. If the water is too cold or too hot, the process will not work! Carefully pour or drip nail polish into water. Make sure to add each color individually so they form a layered pattern.
Use a toothpick to swirl the colors together for a marbled design. Bring the majority of the nail polish towards the center of the water to prevent any white patches during dipping. The polish dries quickly so try to do this before it becomes too sticky or stiff.
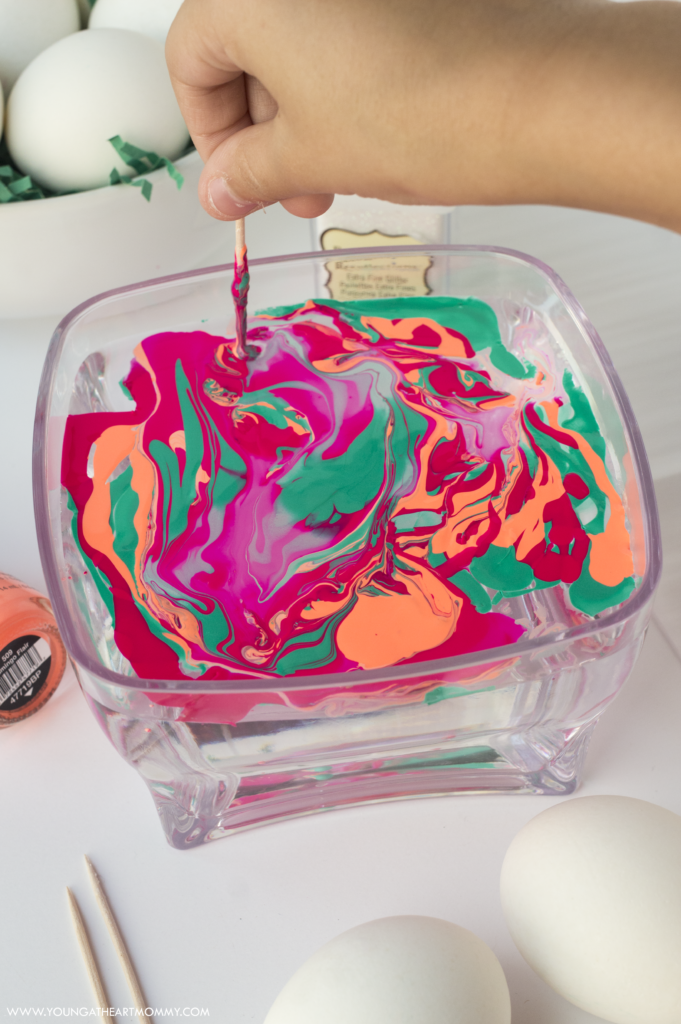
Immediately dip the egg into the water, allowing the nail polish to adhere to one side before pulling it out. You will notice the polish separate and cling to the surface of the shell. This method only covers half of the egg but once it drys, you can dip the other side or use a small paint brush to add additional color.
TIP: If you don’t feel comfortable dipping the eggs with bare fingers, use gloves or toxic free nail polish for this project!
Add a little sparkle by sprinkling on a pinch of extra fine glitter. Place the eggs in an empty egg carton to dry before displaying.
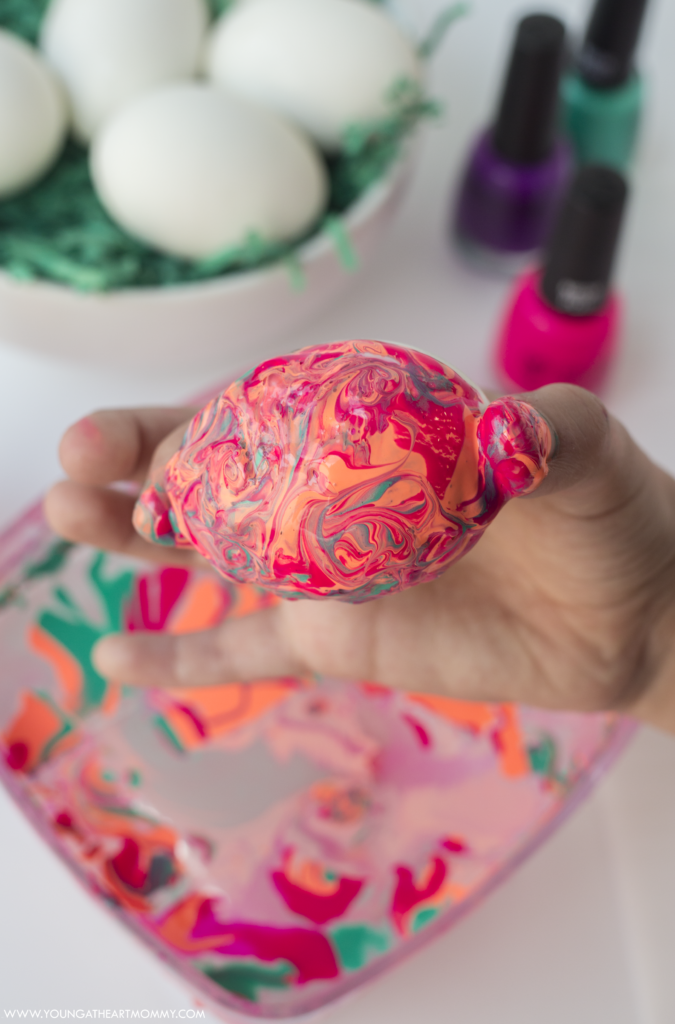
Use q-tips and nail polish remover to clean your fingers. Afterwards, wash hands thoroughly with soap and water.
TIP: Spread a thin layer of petroleum jelly, like Vaseline, on your fingernails and cuticles before dipping the eggs into the nail polish. This will make the clean-up process much easier.
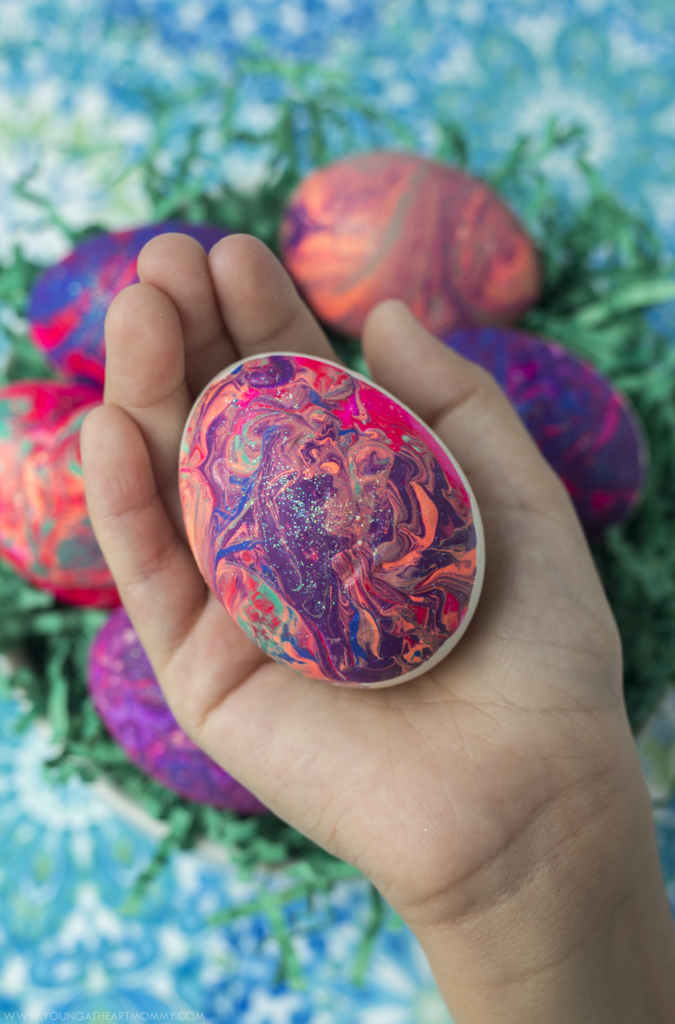
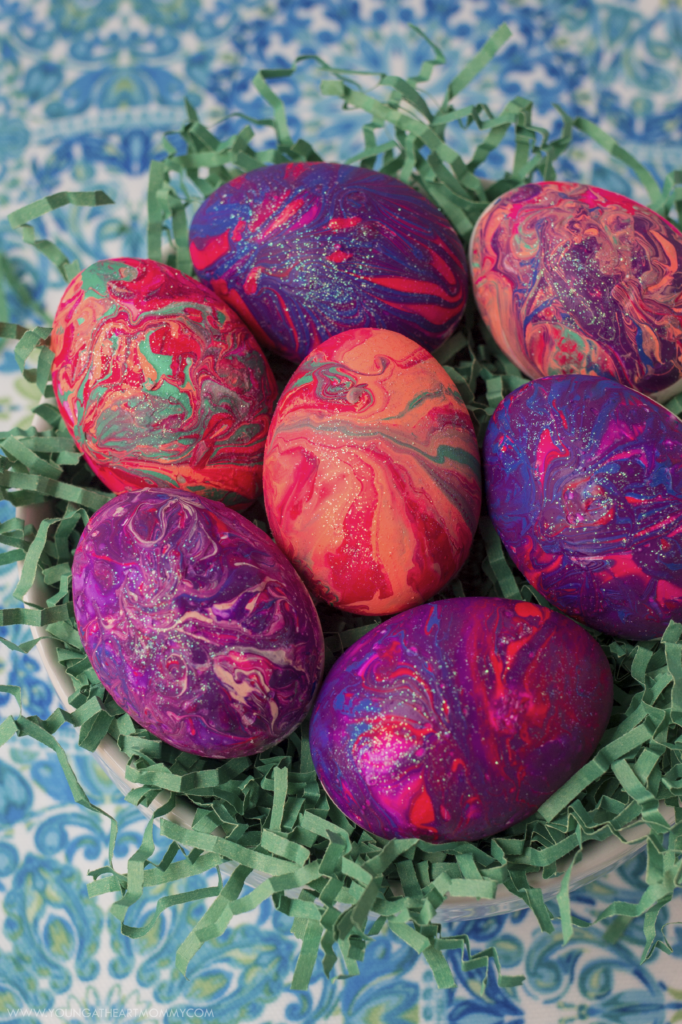
Once completely dry, place them in a bowl or Easter basket to dress up your space during springtime. No one will ever guess the secret behind these beauties is nail polish! While these eggs may catch your eye, they’re only good for looks. I don’t recommend eating after you’ve enjoyed their beauty!
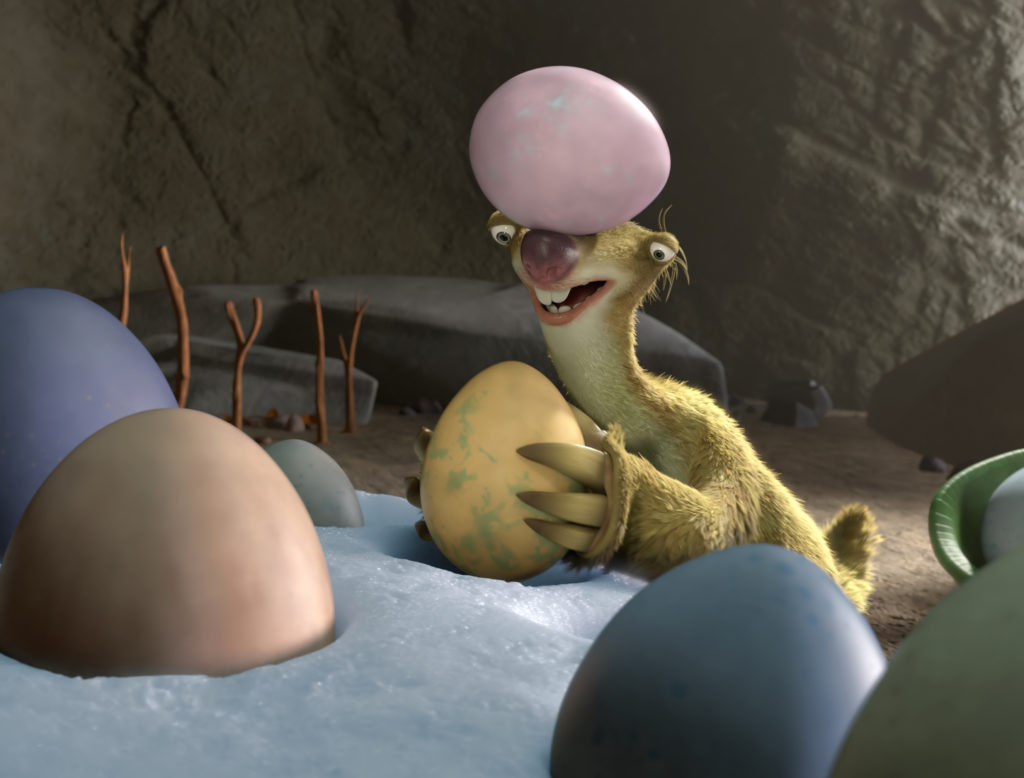
Speaking of Easter eggs, Fox has put a prehistoric spin on the world’s first egg hunt in the animated special – “Ice Age: The Great Egg-scapade.”
In this springtime special, Ethel entrusts her precious, soon-to-hatch egg to Sid. When she recommends him to her neighbors, Cholly Bear and Gladys Glypto, business booms at his new egg-sitting service. However, villainous Squint, is actively seeking revenge on the Ice Age gang. He decides to steal, camouflage, and hide all the eggs unknowingly which creates the first ever Easter tradition – egg hunting!

Even through all of the shenanigans, expect many fun laughs from your favorite prehistoric herd. This family friendly flick is available on DVD March 7th, making it the perfect Easter basket filler.
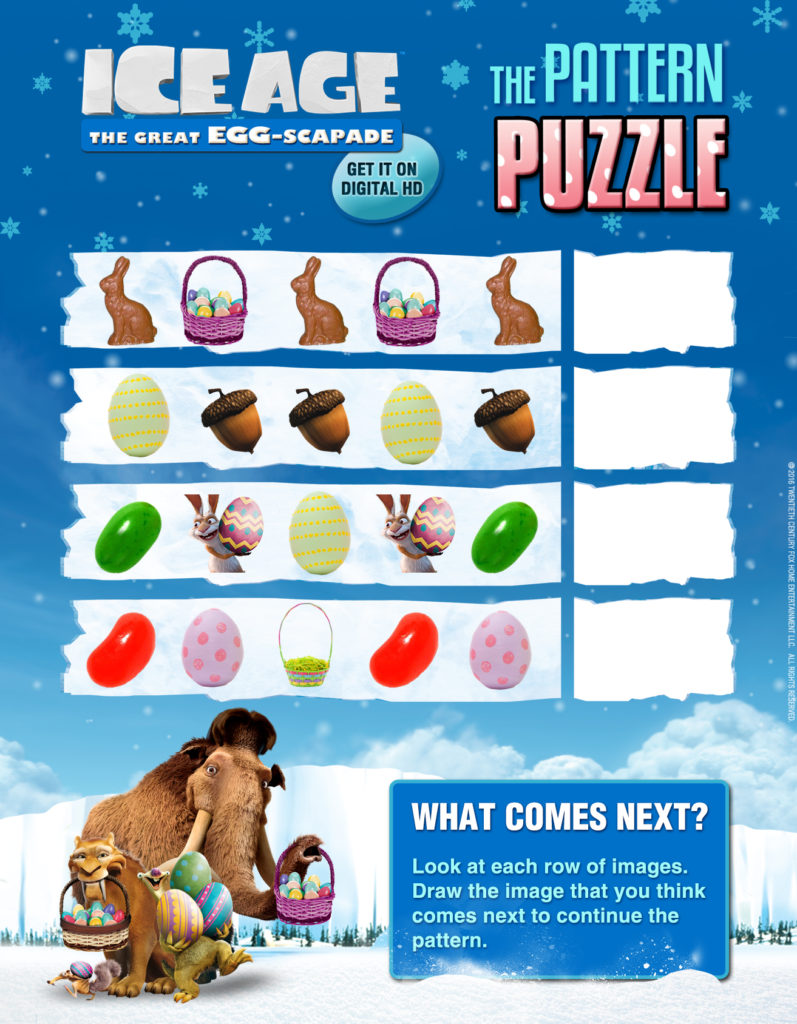
Click the picture below to print a fun activity sheet your kiddos can do before of after the movie.
What kind of Easter traditions does your family take part in during spring?


