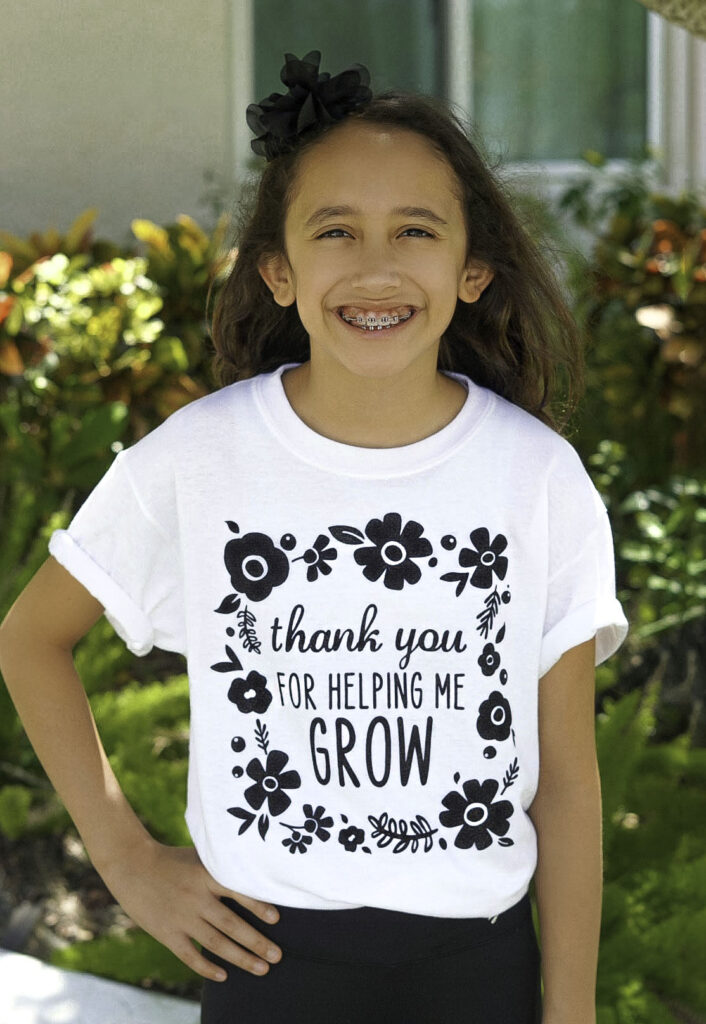
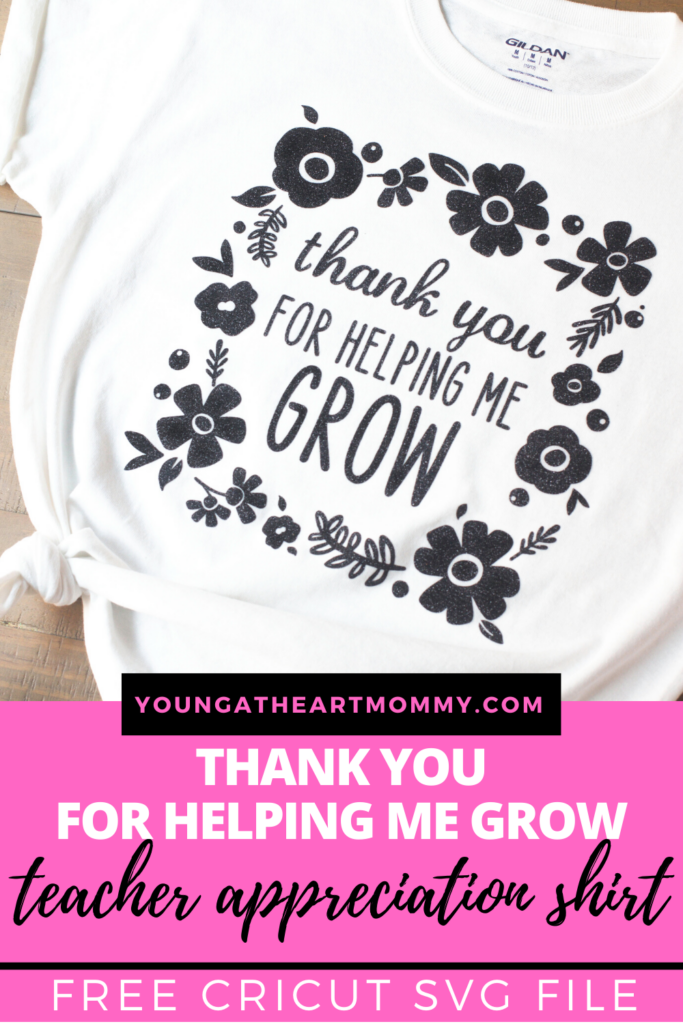
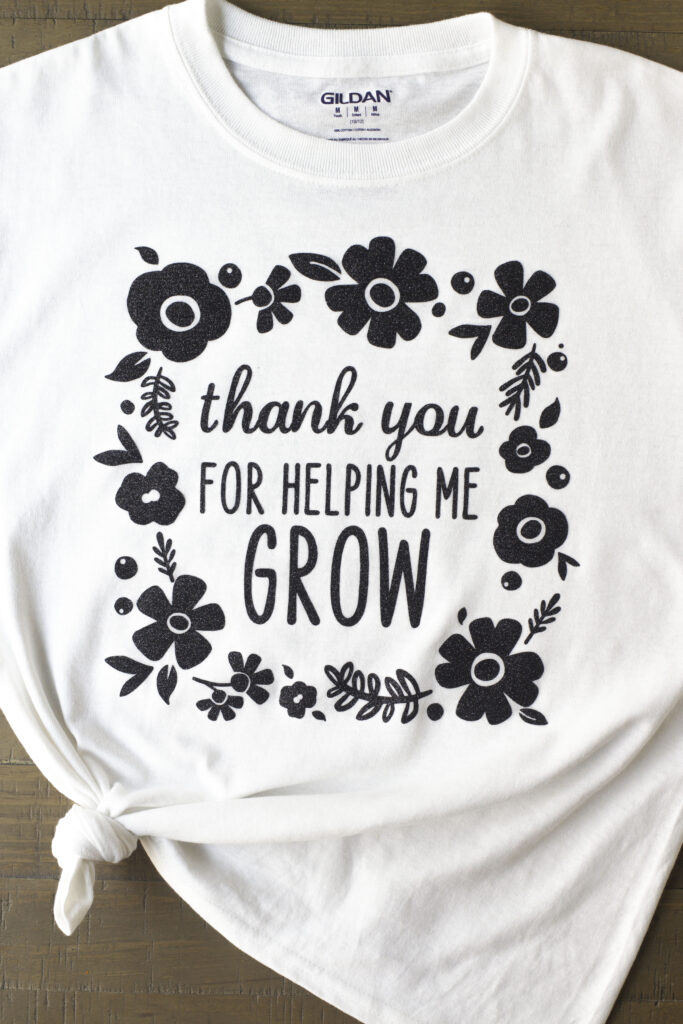
Teacher Appreciation Week looks a little different this year! Say thank you to the superheroes of the classroom by making them a special t-shirt using this FREE Cricut cut file.
 We’ve been hunkered down at home from more than a month, but I have yet to get used to my new role as a teacher! After all this, it’s safe to say that every educator on the planet is a saint in disguise. Even on the best of days, home-schooling is tough and often a juggling act with an unpredictable ending. The burnout is real, especially after an hour of 5th grade Math lessons (yuck)!
GIVE THANKS
Now, more than ever, our teachers deserve endless appreciation, love, and support. This is the chance to get creative and find alternative ways to tell your them “Thank You” from a distance, even if it’s virtually. Many of us parents are still connected to our child’s teacher during this time, giving us access to their email and possibly a personal address to send them something extra special.
GET CRAFTY WITH CRICUT
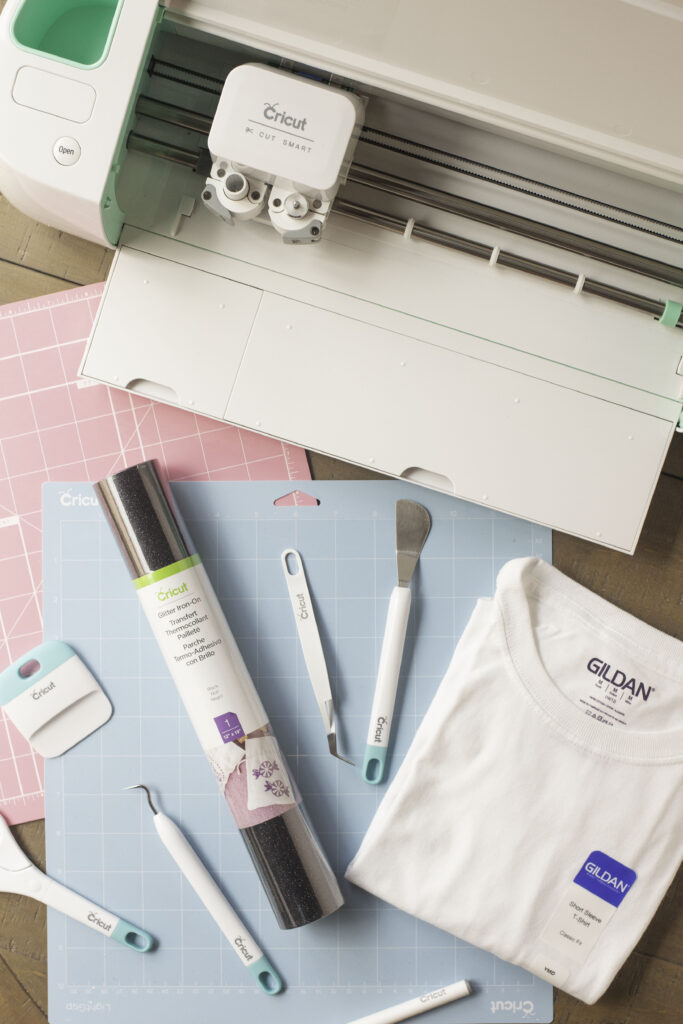
Inspired by these beautiful hand-drawn flowers made by Alexis at Persia Lou, I used my Cricut to create a fun gift that can be worn in and out of the classroom. The SVG (cut file) is included and FREE! All you need is your Cricut machine, 12×12 standard cutting mat, iron, solid colored shirt and iron-on vinyl to complete this project.
The cut file can be accessed in Cricut Design Space! Here you will be able to customize the fonts and size of the graphic to fit the shirt you will be attaching it to. Once you’re satisfied, click Make It to begin the process.
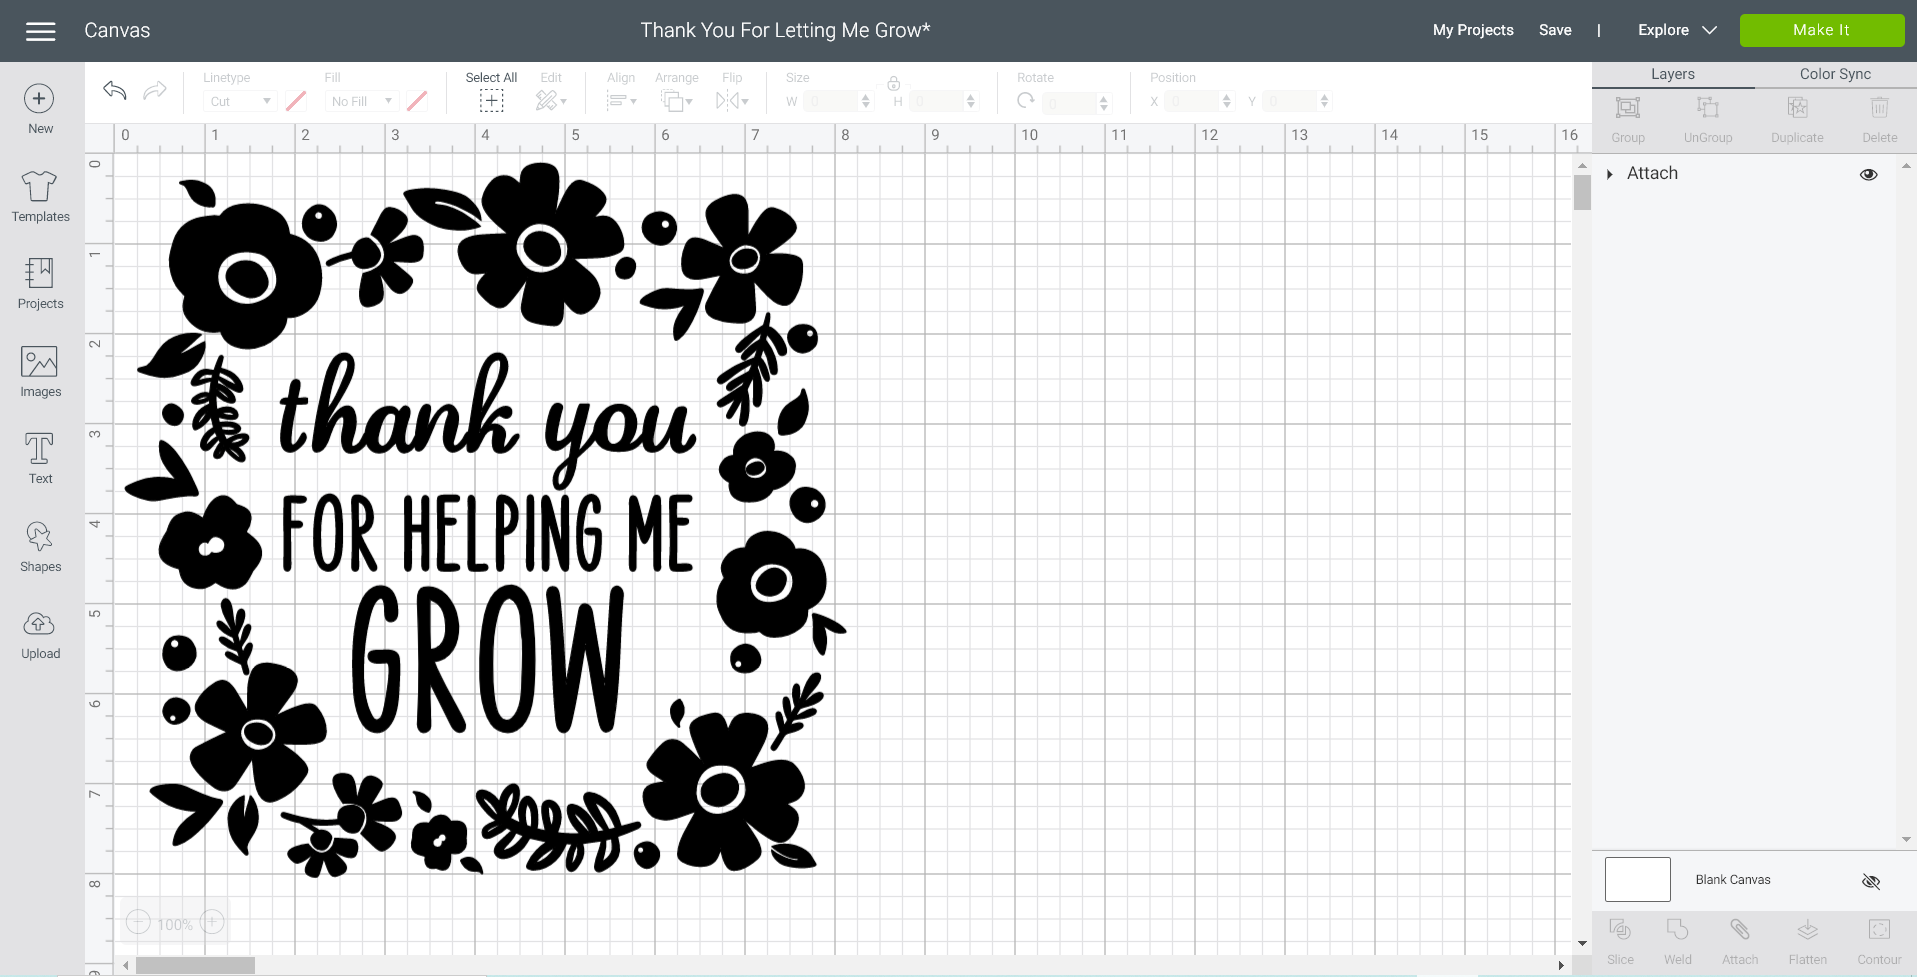 Before you begin cutting the design, make sure to mirror your image. This is an essential step when using Heat Transfer Vinyl or Infusible Ink. By flipping the image horizontally, you ensure that it will be printed properly. As a result, the words will not appear backward when ironed onto the t-shirt.
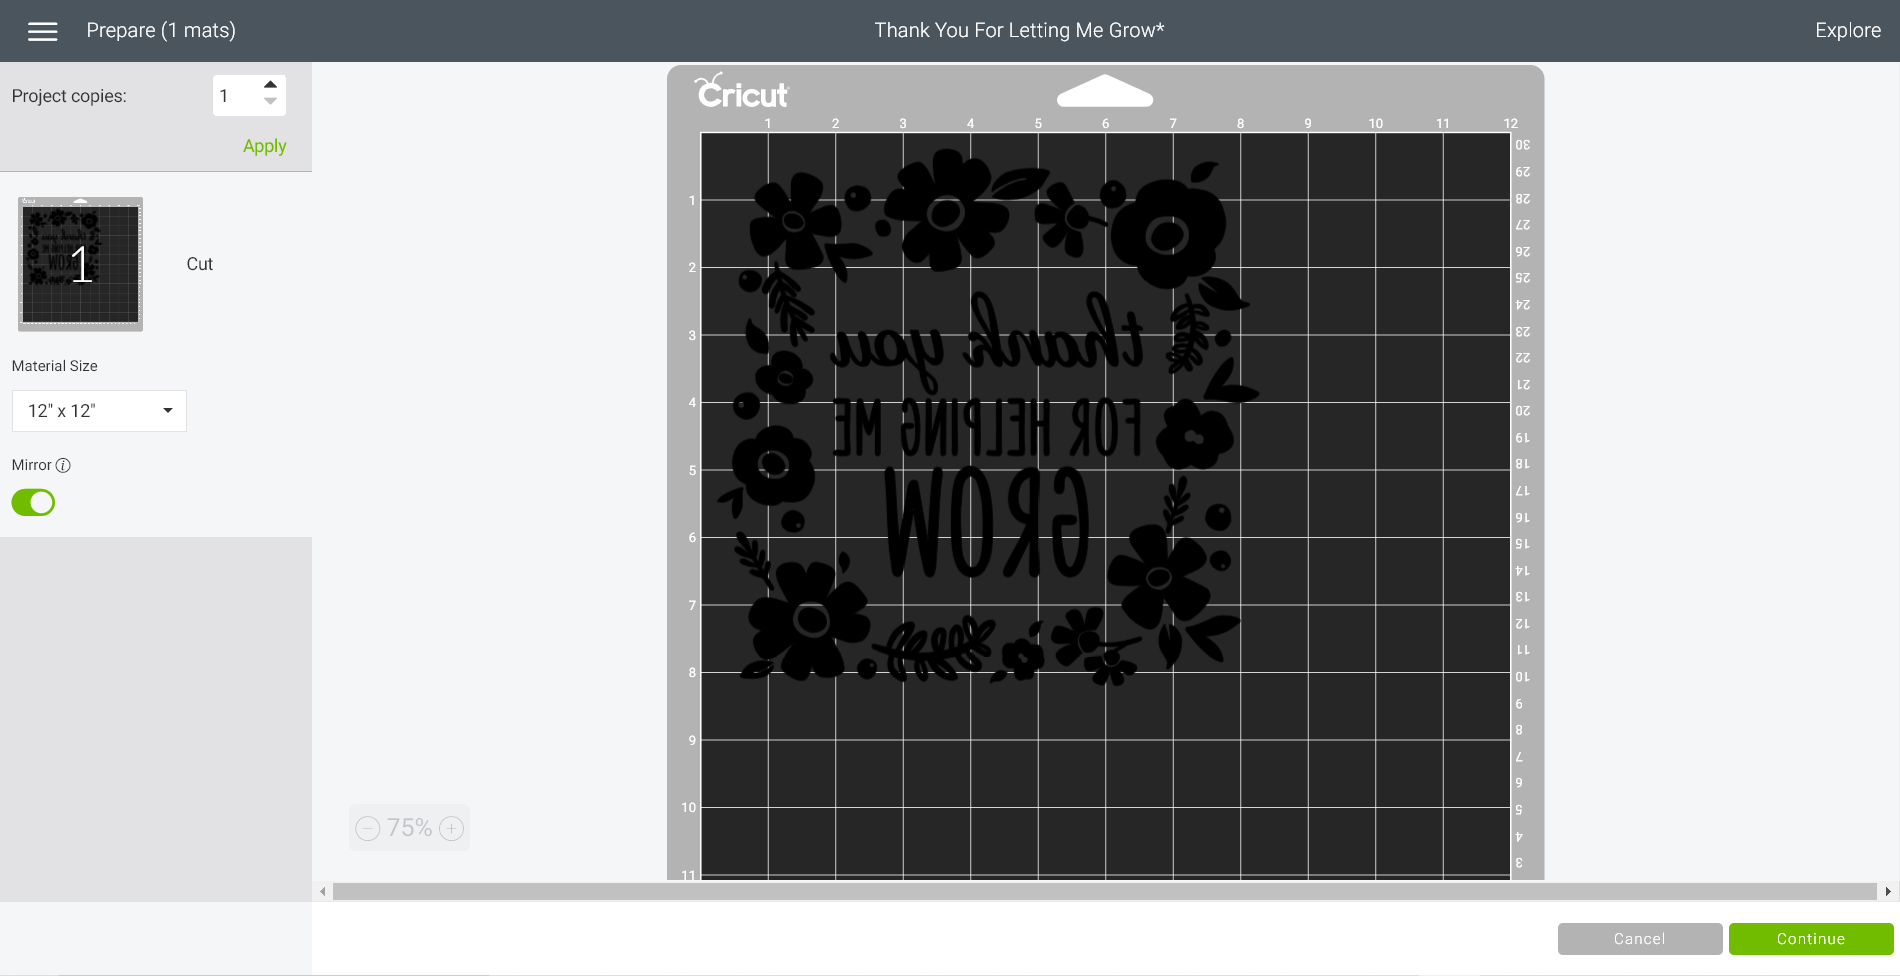 If using glitter vinyl, adjust the dial on your Cricut to the space in between Iron On and Light Cardstock. This will signal the machine that more blade pressure is needed for a deeper cut. Glitter vinyl is sparkly and beautiful, but its rough texture can be tricky to work with. I have found that this setting delivers the best results and it also makes weeding around the cut lines much easier.
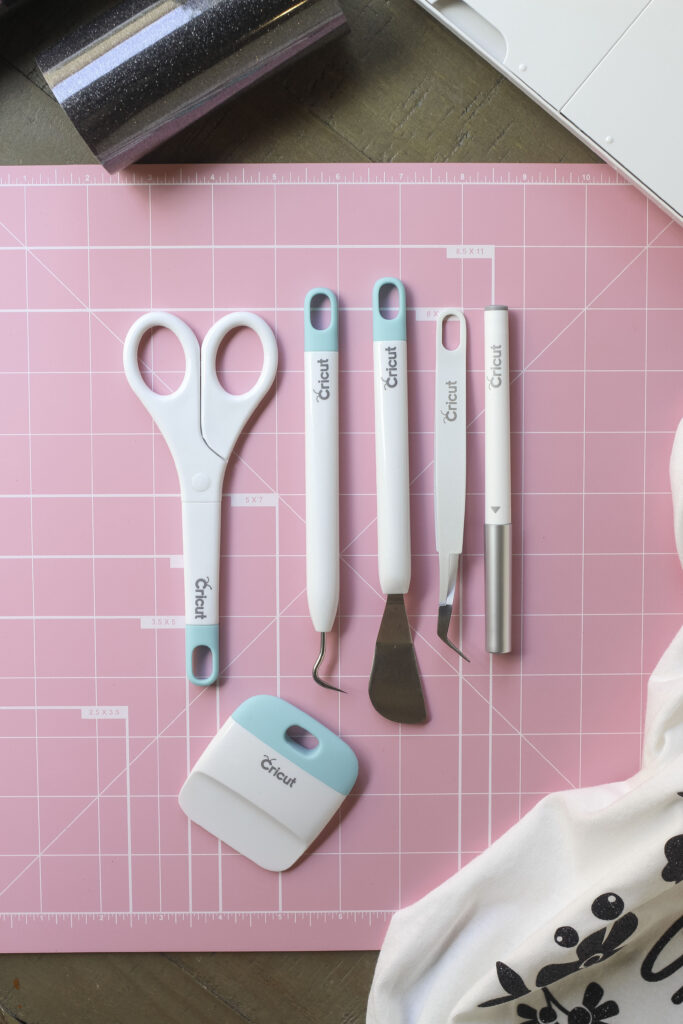
Using a weeder and scissors, clean up the design and remove extra vinyl that you don’t want showing up on the shirt. I love the Cricut Essential Tools because they allow you to cut and craft many different types of materials with accuracy! The 6-piece set and a durable cutting mat are essentials.
With a standard iron or Cricut Easy Press, smooth out wrinkles and warm up the shirt for a better transfer. Make sure the design is straight and centered. You’ll only have one shot at this before the image is fused to the cotton!
Are you making anything fun at home with your Cricut?
