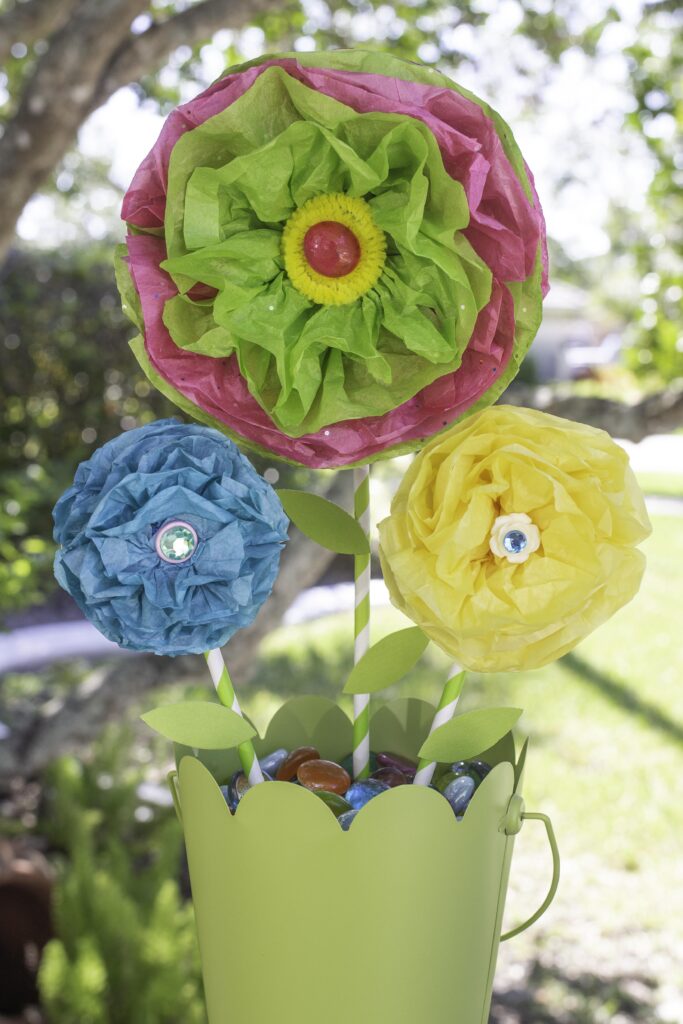
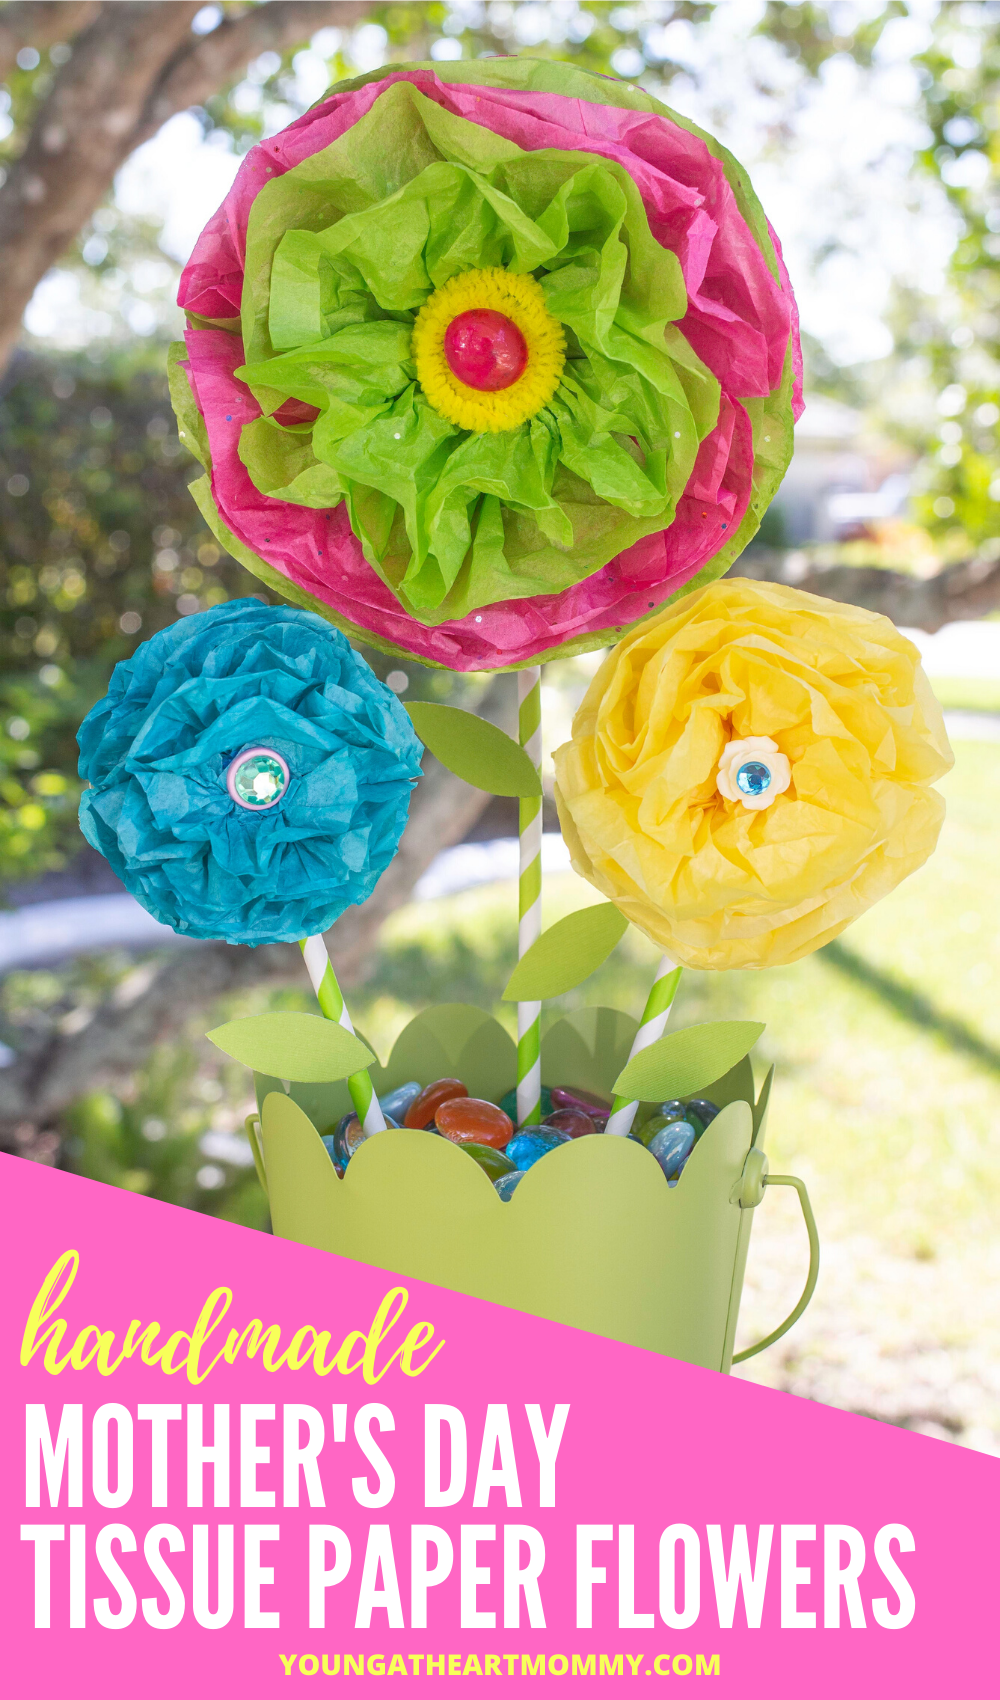
Bright and bubbly tissue paper flowers are the perfect handmade gift to tell mom just how much she is appreciated and loved. They’re a creative momentum that can be displayed throughout the year without having to be watered!
CELEBRATE MOM
Similar to many other holidays this year, Mother’s Day celebrations will look much different. The majority of stores are closed and online shipping times vary by priority. Shopping options are definitely more limited than usual. However, the ability for children to choose that one perfect gift is still possible.
There are plenty of creative ways to show appreciation to the special mothers in our lives. Gifts don’t have to be overpriced or wrapped in a fancy box to make a statement. In fact, those made by hand are the most thoughtful and precious. This is why I adore these tissue paper flowers. They were originally featured on my Tissue Paper Flower Bouquet Canvas. Toodie loved making these!
TISSUE PAPER FLOWERS
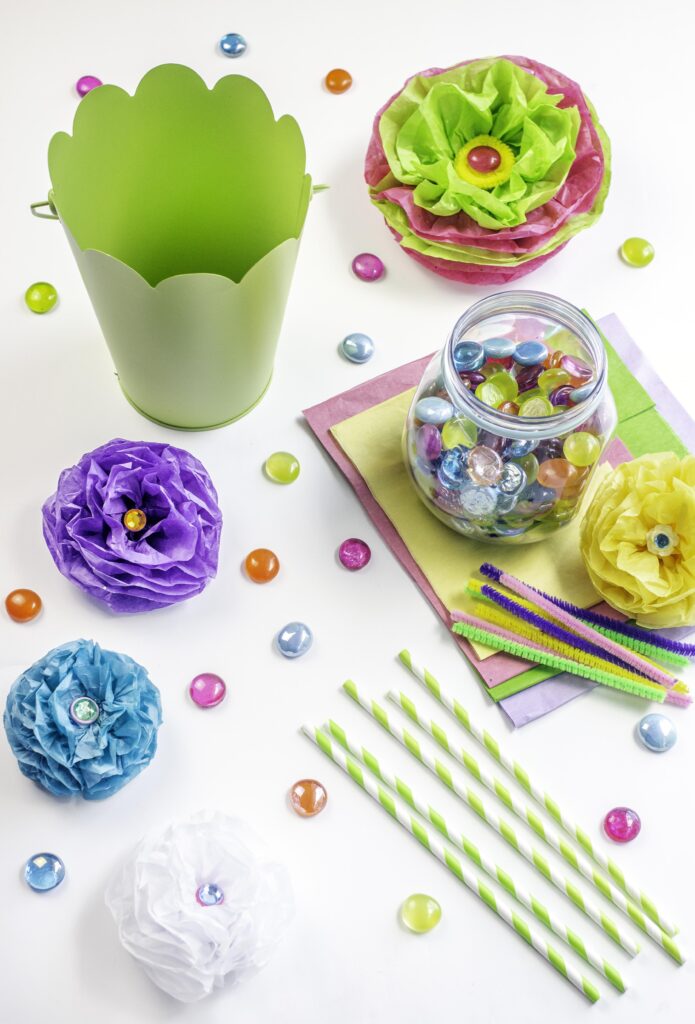
For this project you will need a flower pot or metal pale. I found mine floating around with the springtime goodies of the dollar section at Target. A small vase would also work, as long as it’s deep enough to hold the stems of the tissue paper flowers. You will also need various colors of tissue paper, pipe cleaners, paper straws, flat marbles, Styrofoam vase insert, and rhinestones for decorating. In addition, I recommend having a pair of scissors and a hot glue gun.
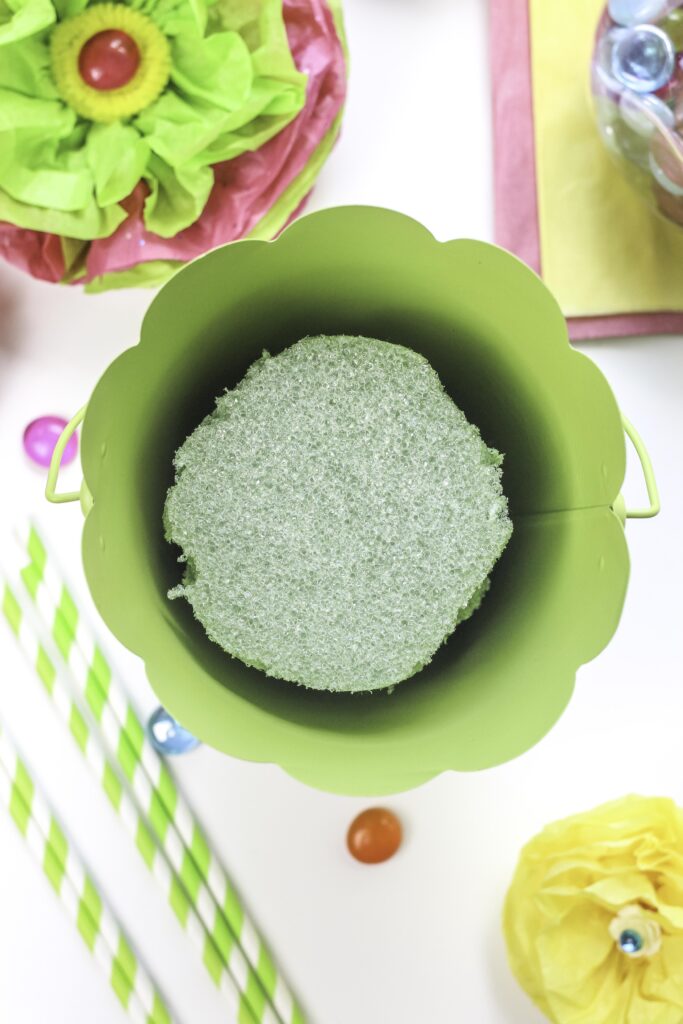
STEP 1: First, if needed, trim your Styrofoam vase insert so that it fits securely into your base. You can easily do this with a craft knife. Don’t worry if the edges are rough or uneven because they will be completely concealed. Pour in a couple handfuls of marbles to keep it in place.
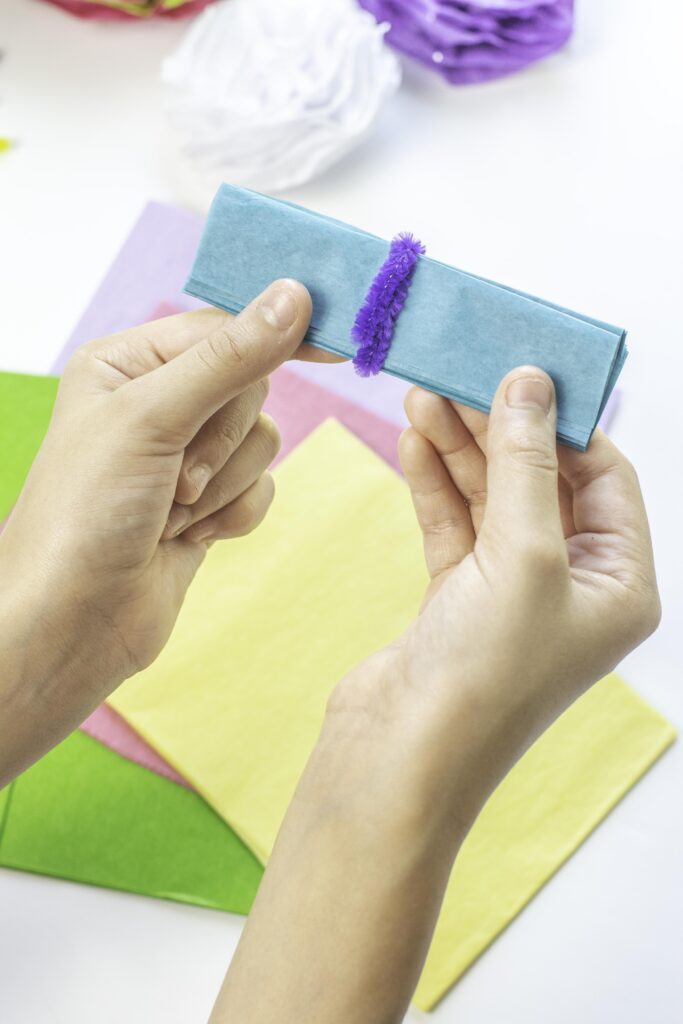
STEP 2: Time to make the tissue paper flowers! Cut various colors of tissue paper into 4 inch squares or smaller, depending on what size you want your flowers to be. Feel free to make different sizes and shapes for contrast. Each flower should contain 5-6 squares. The more sheets used, the fuller the flower will be.
Stack tissue squares together and starting from the bottom, fold accordion-style. The folds should be around 1/2 an inch. Wrap a small piece of pipe cleaner around the center and tie in the middle. Twist and secure to ensure that tissue will stay held together.
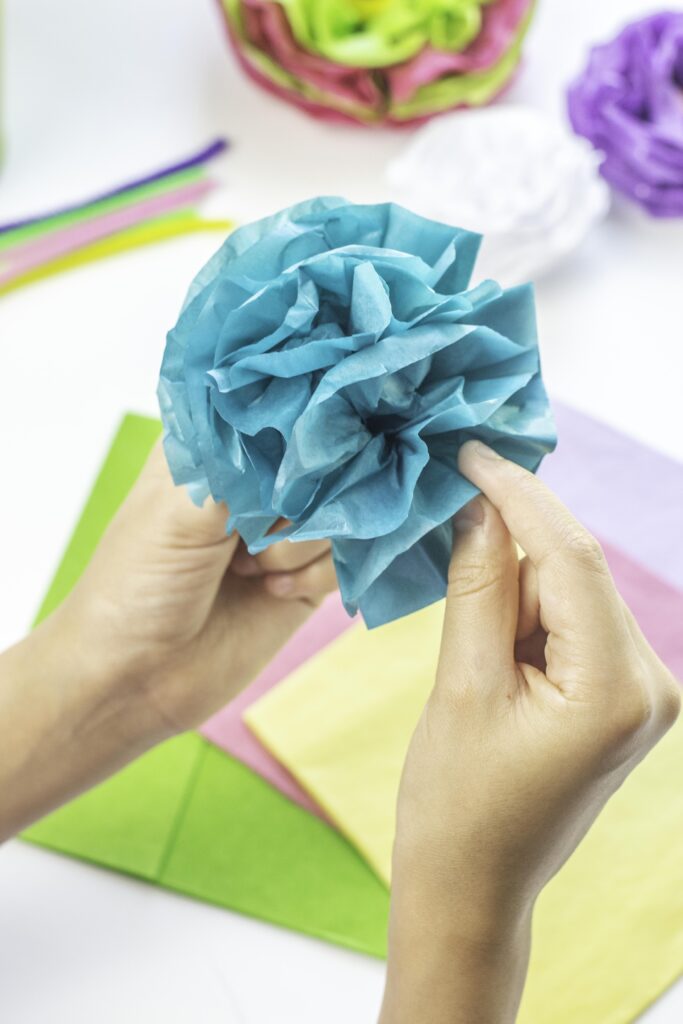
STEP 3: Carefully unfold each side of the flower and separate the layers of tissue paper. Fluff the petals as you go but be careful not to cause any rips. If you accidentally tear any of the petals, trim the area with a pair of scissors so that it blends with the others. Add gem, sequins, or buttons in the centers for a touch of sparkle.
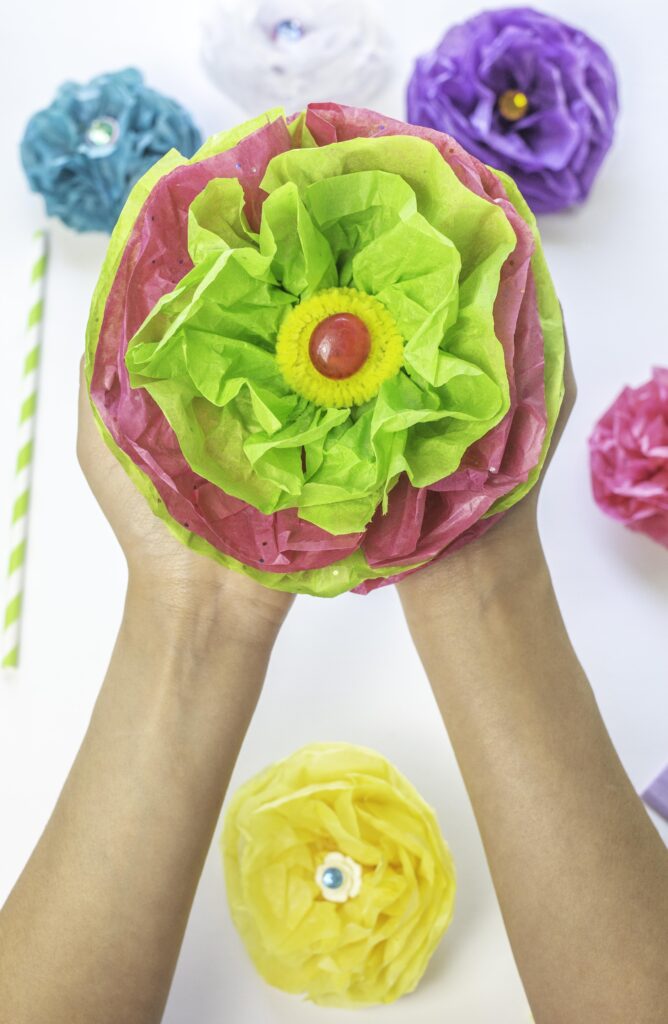
STEP 4: Use a hot glue gun to attach a paper straw onto the back of each flower. For the bigger flower in the back, attach two straws together until you get the height you like. You can achieve this by squeezing the tip of one straw together and sliding it into another.
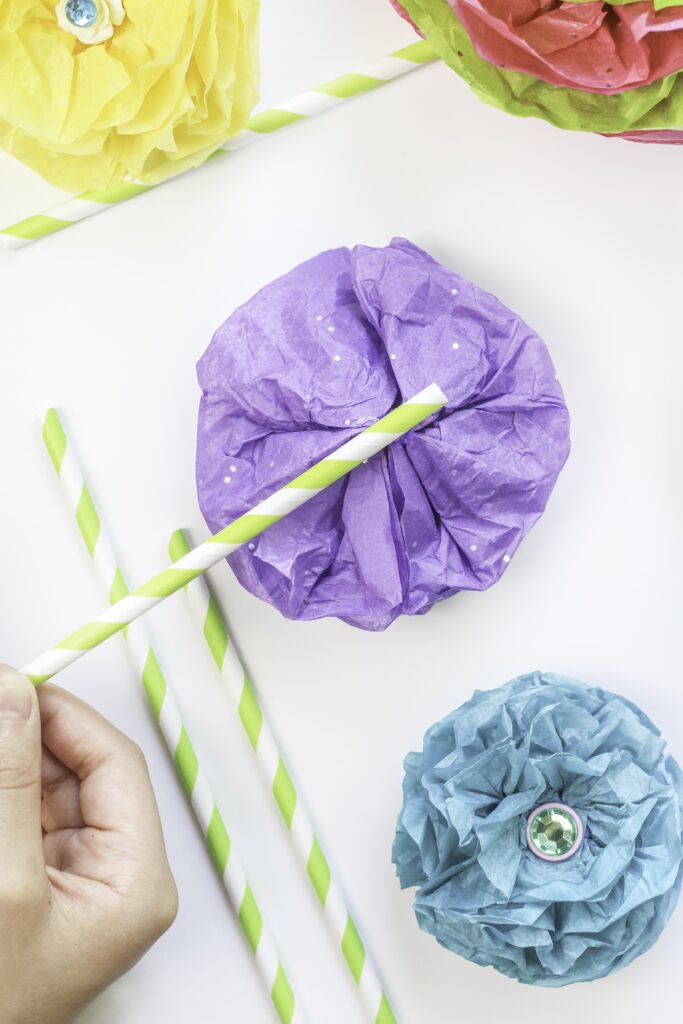
STEP 5: Finally, wiggle straws into Styrofoam base, making sure that each is spread far enough apart for flowers to have space.
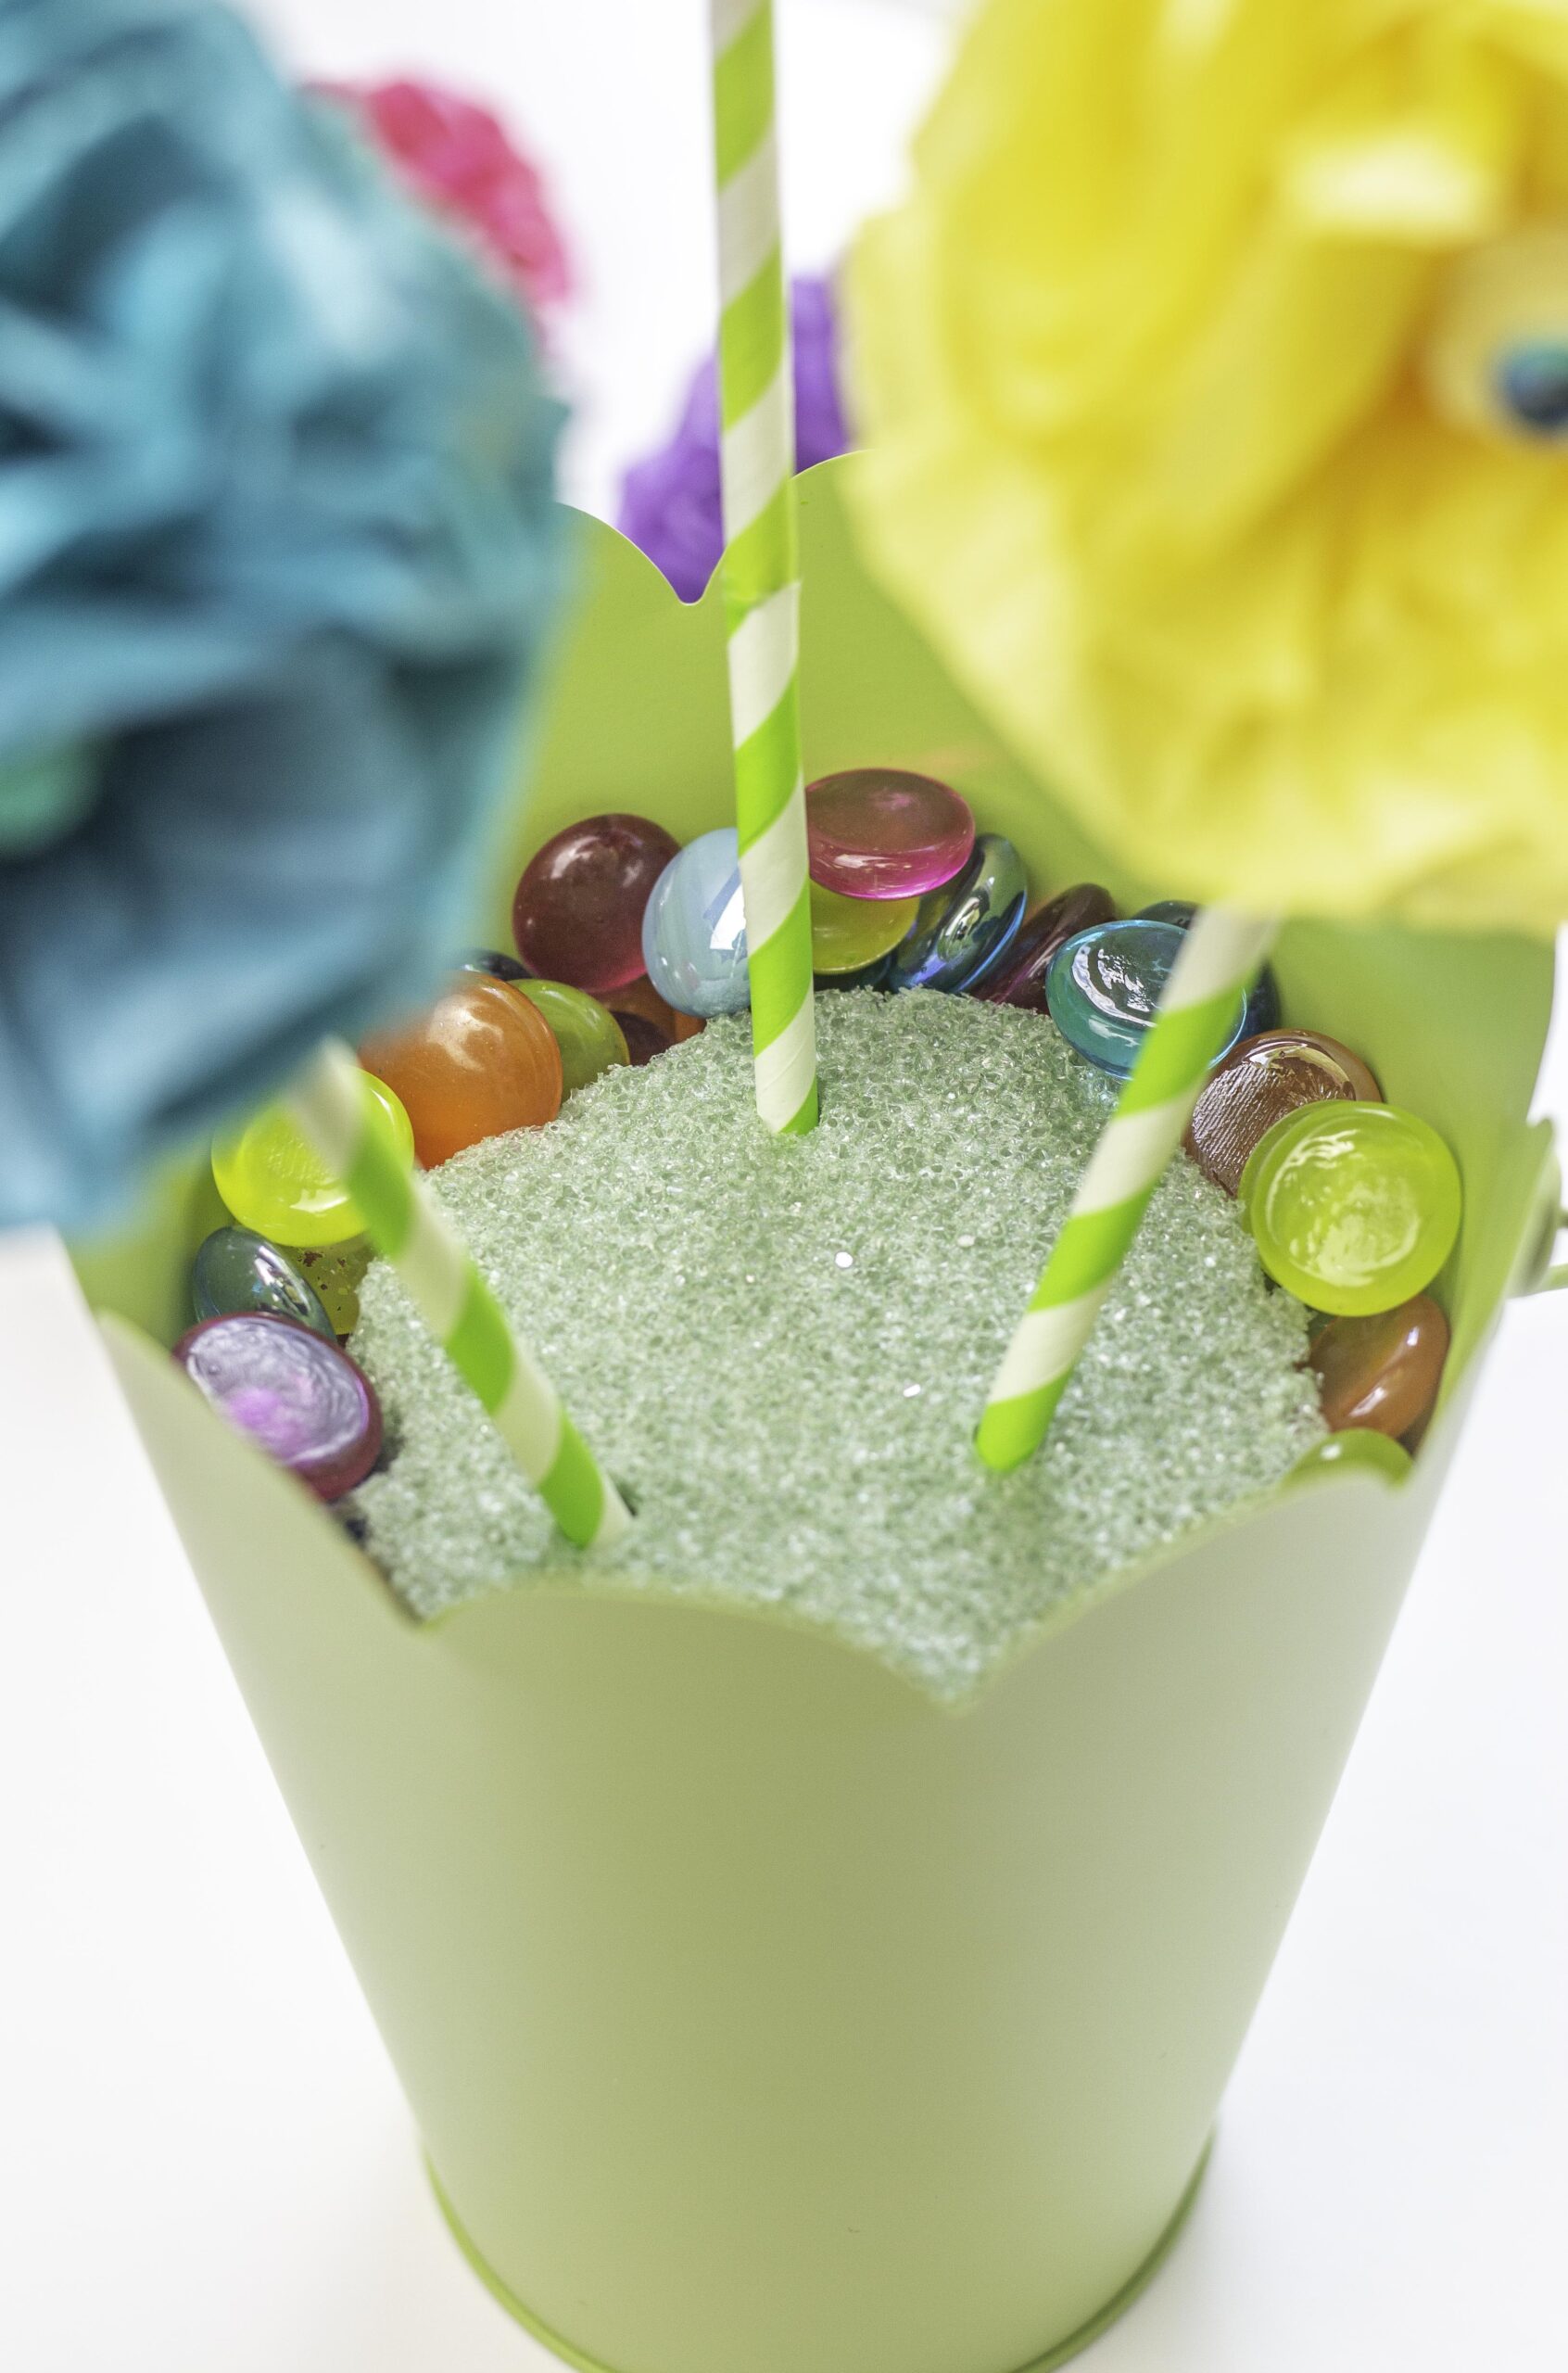
STEP 6: To make the flowers look more realistic, cut out leaves from green card-stock or construction paper. Glue these onto the straw stems. If you prefer a simple look, your Tissue Paper Flowers are ready to go! Just add in the remaining marbles to cover the foam insert.
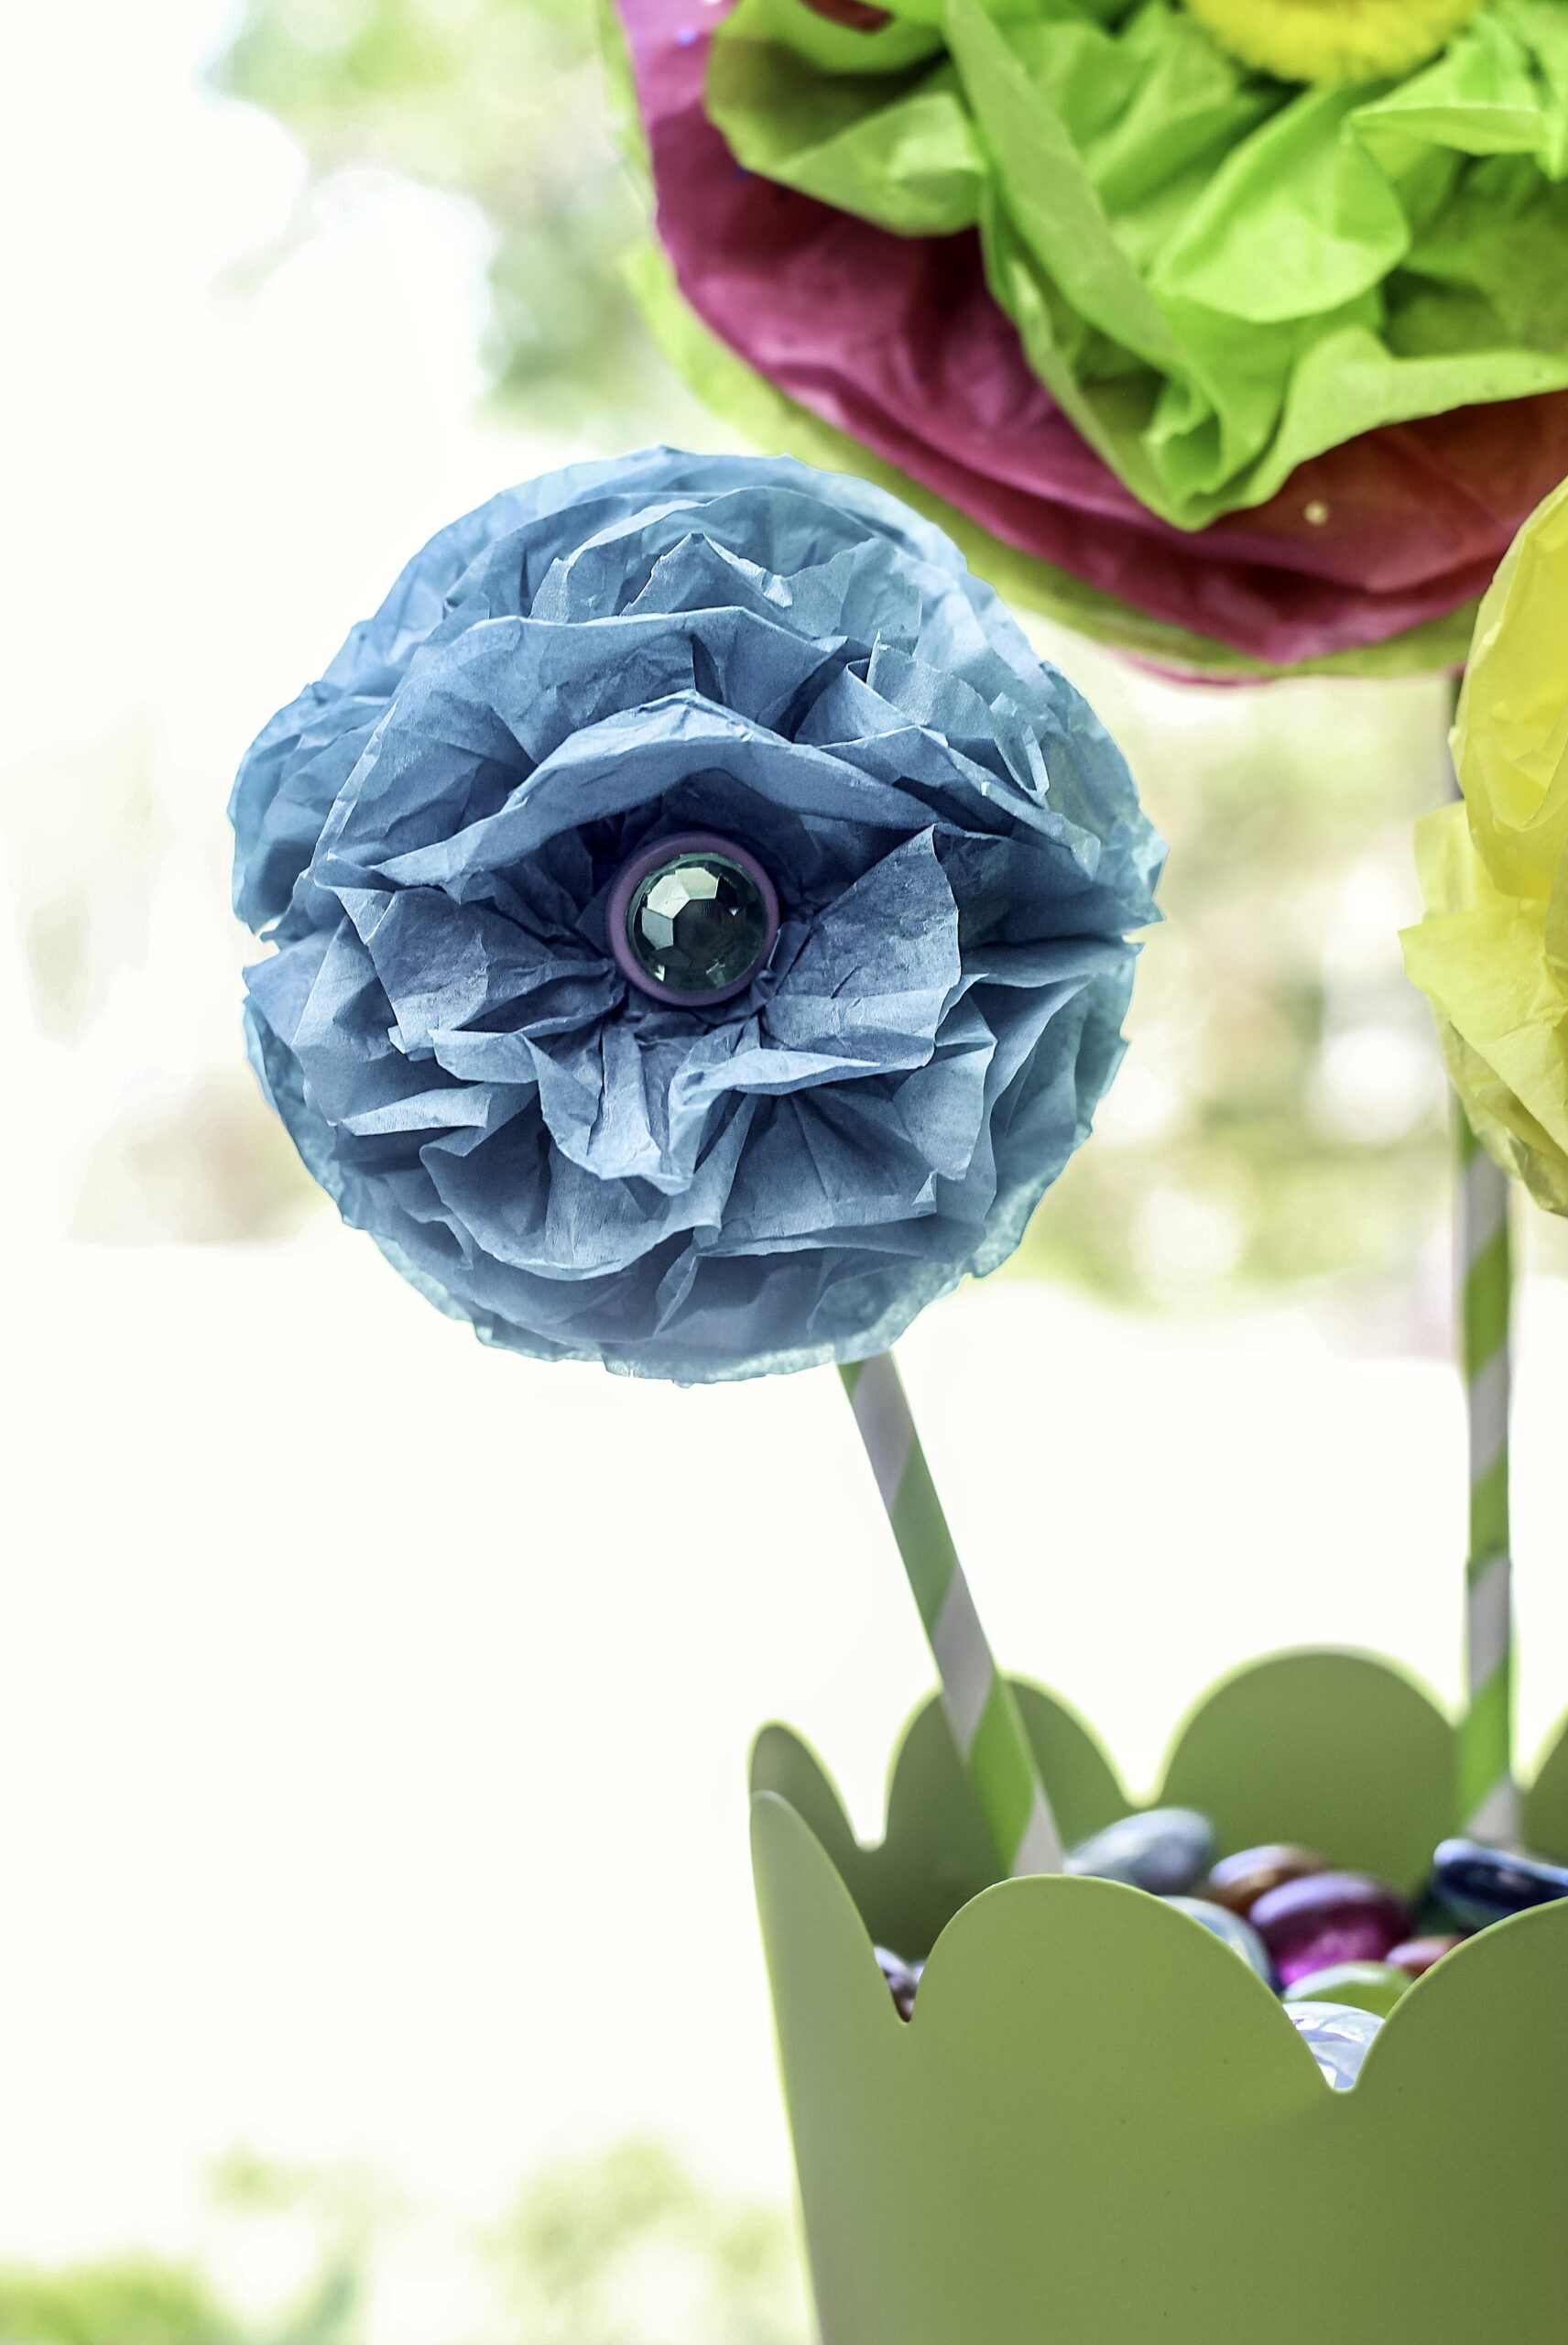
Without a doubt, nothing says “I Love You” like a handmade creation. This craft is easy enough for kids to do on their own with adult supervision. Allow them to design their flowers and choose which colors to use. While this is a great gesture for them to gift on Mother’s Day, it also makes for a beautiful spring decoration in their bedroom or around the house!
