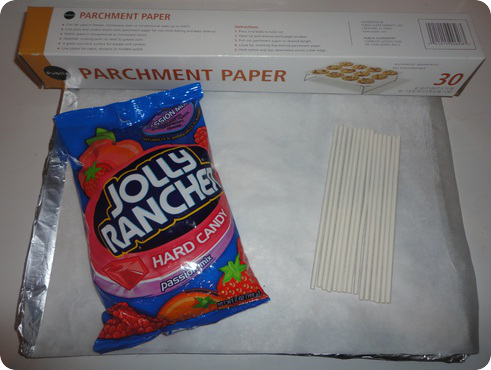
What You Need:
- Parchment Paper
- Jolly Ranchers
- Lollipop Sticks
- Cookie Sheet
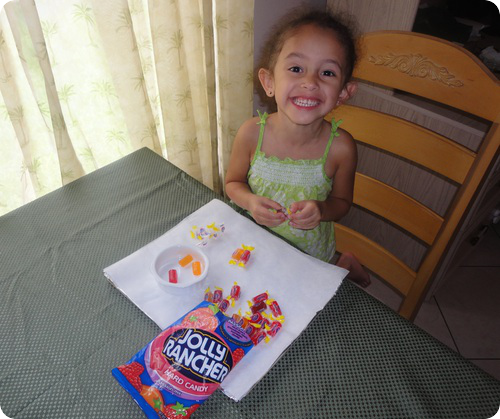
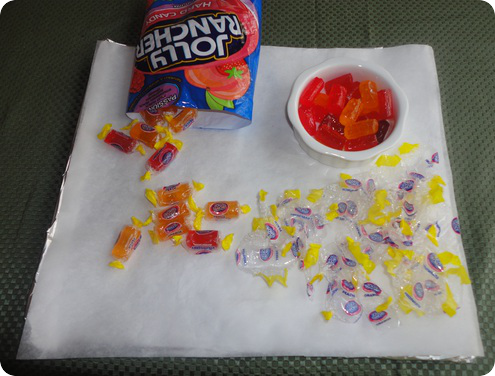
First things first, unwrap all your Jollyrancher candy! While you are preparing your lollipops, preheat your oven to 275°F. Any hotter and they will melt too quickly. After two attempts, I found this to be the ideal temperature.
When i took a trip to the store yesterday I thought I picked up the Original Jolly Rancher bag but somehow ended up with Passion Fruit flavors. If you want your lollipops to be colorful make sure you get the correct assortment. These flavors were still very good and also tangy.
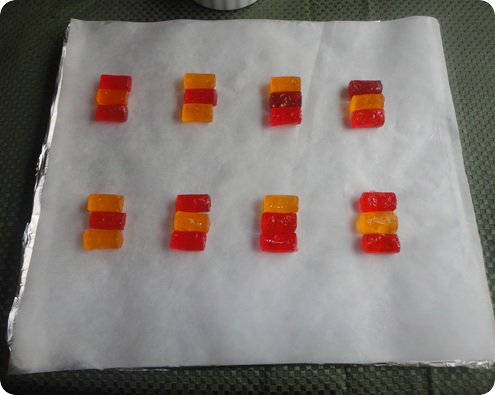
Once all of your candies are unwrapped, you are going to take three at a time and group them together on your parchment paper. You can mix and match your colors according to what you want your lollipops to look like. We only had three basic colors to work with so we did our best! Make sure you leave enough space between each group because they are going to expand in the oven.
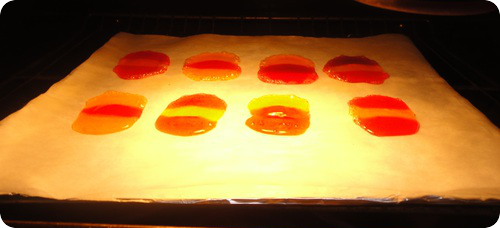
By now your oven should be ready for candy cookin’. Place your baking sheet into the per-heated oven and allow them to melt for about 6 minutes.
Make sure to keep an eye on them because once they have begun to melt, it does not take long after. The longer they are in the oven, the bigger they get. If the candy melts too thin it will be difficult to keep the stick attached.When they are finished they look something similar to the photo below.
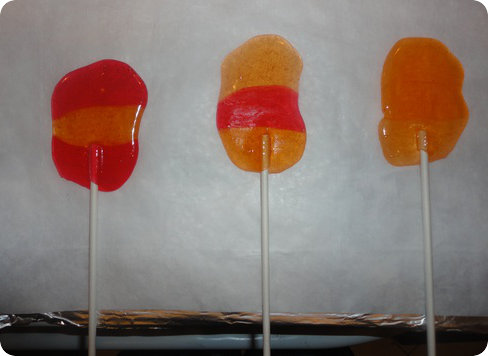
The lollipops will be very hot when you remove them from the oven. Immediately place the stick at the ends of the melted candy, twisting so that the candy wraps around it. This will keep it firmly in place.As you can see, each lollipop has it’s own unique shape. Some are long, some are short, and some are wide!
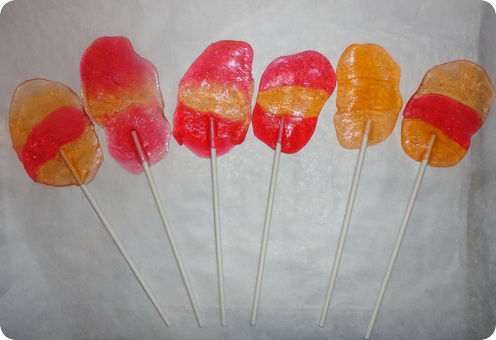
These cool rather quickly but we allowed ours to sit for 10 minutes so they wouldn’t be floppy. Once they’re are cooled off you can pop them right off the parchment paper.If you want to speed up the process you can stick them in the fridge. These homemade Jollyrancher lollipops are Toodie approved!
